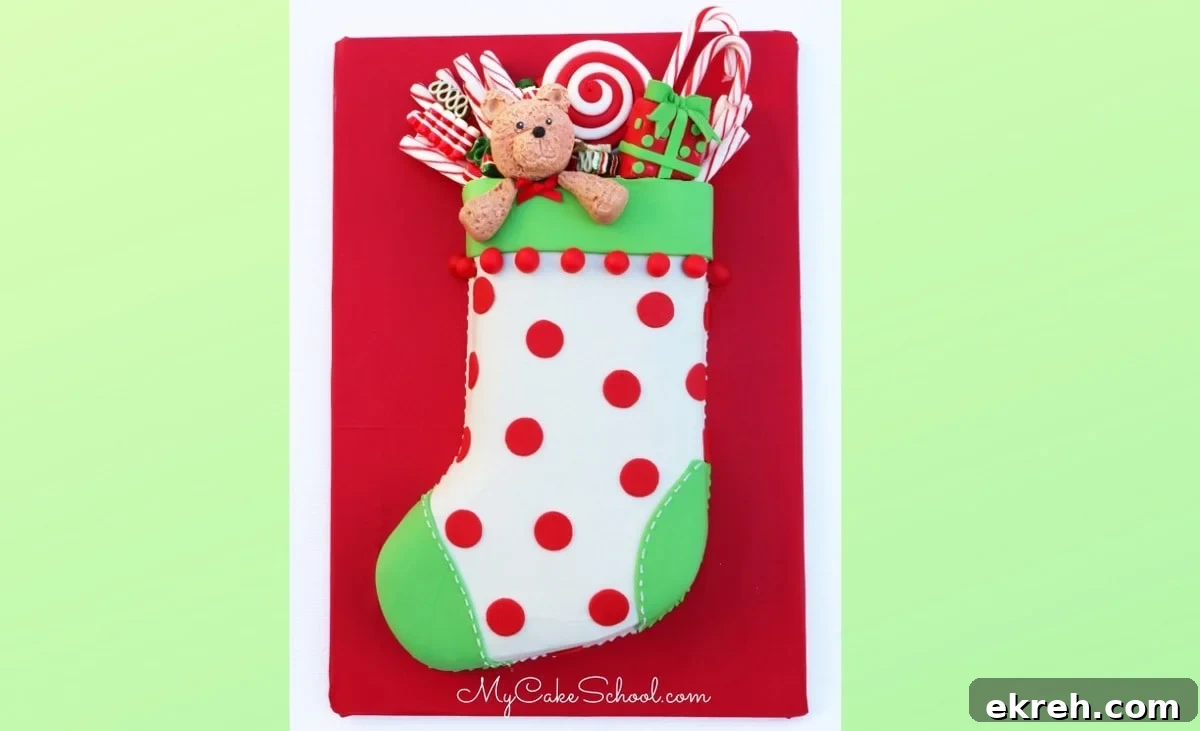
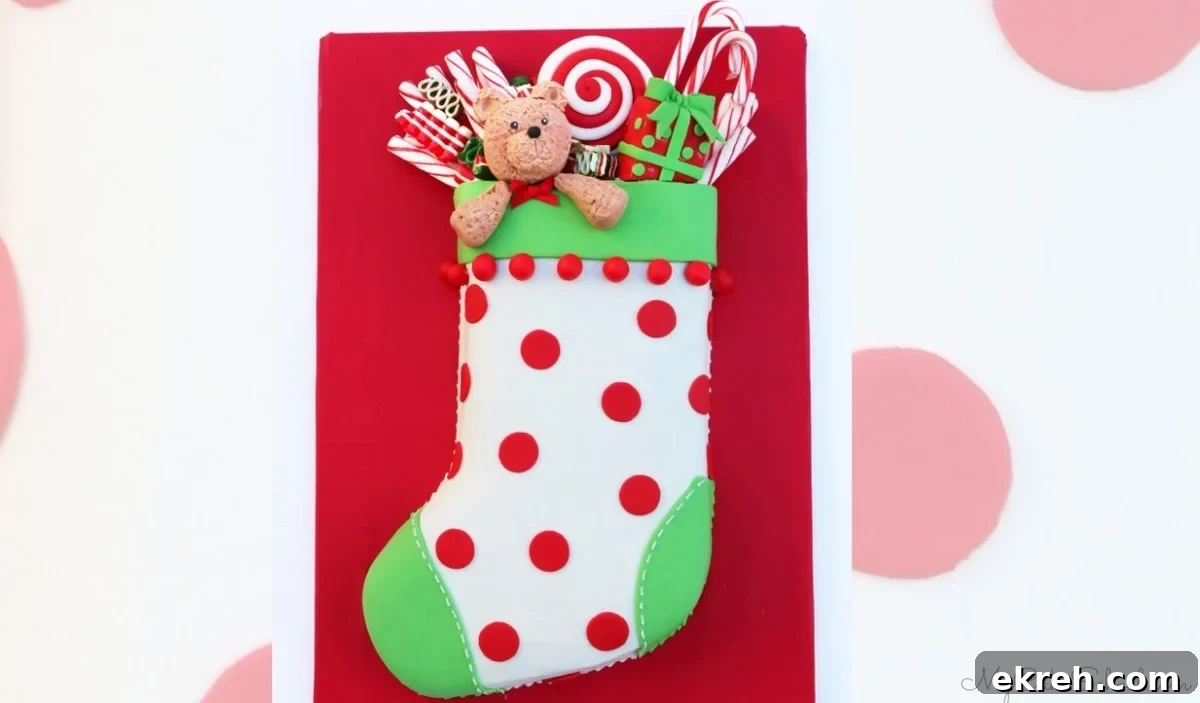
Today’s Christmas Stocking Cake is one of our favorite cake-decorating tutorials for the season. This cheerful design takes a simple sheet cake and turns it into a festive stocking filled with toys and treats—perfect for holiday gatherings or as a centerpiece for a dessert table.
In the video below we demonstrate a straightforward approach that you can adapt to any sheet cake size. The version shown uses buttercream frosting for the main body of the stocking with fondant accents and a few candy and rice cereal treat elements to create the stocking’s contents. Follow the steps to customize colors, textures, and decorations to suit your holiday theme.
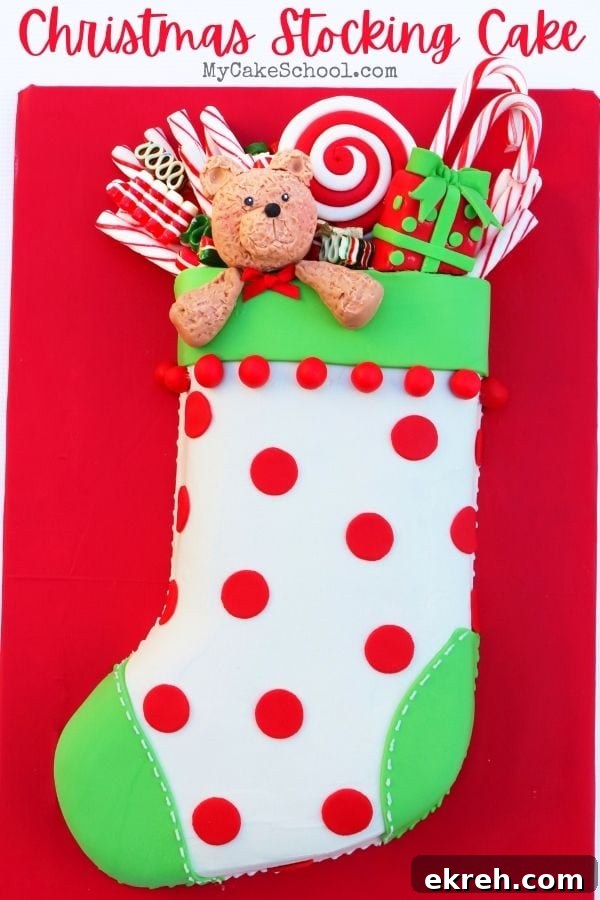
Table of Contents
Materials for Christmas Stocking Cake
This tutorial was created using a 9×13 sheet cake, but the design scales easily to smaller or larger sheet cakes. We used our White Almond Sour Cream cake recipe for the base and frosted the cake with Fluffy Vanilla Buttercream. If you prefer, any sturdy cake and a stable buttercream will work.
Stocking template: Make a paper template from parchment to fit your cake size. Trace and trim as needed to achieve the stocking silhouette you like.
Coloring: Gel colors are ideal—use a rich red for the stocking, green accents, and a brown tone for small details. We used popular red and green gels and a warm brown for shading.
Fondant: Fondant accents help define toys and trim. Kneading a small amount of tylose powder into fondant will help those elements firm up more quickly if you need them to hold shape.
Candy and small treats: Assorted candies, sprinkles, and small chocolate pieces add texture and a playful feel to the stocking’s contents.
Bows and ribbons: Optional, but small fondant or ribbon bows make charming finishing touches on toys and gifts inside the stocking.
Rice cereal treats: We used premade 22 g squares for shaping the larger items like the teddy bear and a present. Rice cereal treat pieces are lightweight and easy to shape.
Cake board and base: Start with a cake board slightly larger than the cake while assembling and chilling. Once chilled and set, move the cake to your final presentation base and secure it with a dab of frosting. Our display base was wrapped for a festive finish.
Tips: Chill the frosted cake before adding heavier fondant or rice cereal treat decorations so the surface is firm. Work in layers: crumb coat, chill, final frost, then apply fondant pieces and candy. Use a small offset spatula and bench scraper for clean edges on the stocking shape.
More Christmas Cakes!
If you enjoy this stocking cake, try some of our other holiday tutorials for different styles and skill levels. We regularly publish approachable video and photo tutorials that walk you through key techniques—perfect for bakers who want festive results without stress.
Popular holiday designs include playful Santa cakes, cozy village scenes, pastel tree cakes, and a sledding snowman cake. These projects highlight simple shaping, basic fondant work, and easy buttercream finishing techniques that are great practice for seasonal decorating.
- Reindeer Cupcakes
- Red Truck Cake Topper
- Ornament Wreath Cake
- Loopy Christmas Bow Cake
We also share cake recipes and flavor ideas that work beautifully with decorated cakes—egg nog, peppermint, gingerbread and other classic holiday flavors pair well with buttercream and fondant decorations. Choose a flavor you enjoy, and let the decorating be the festive finishing touch.
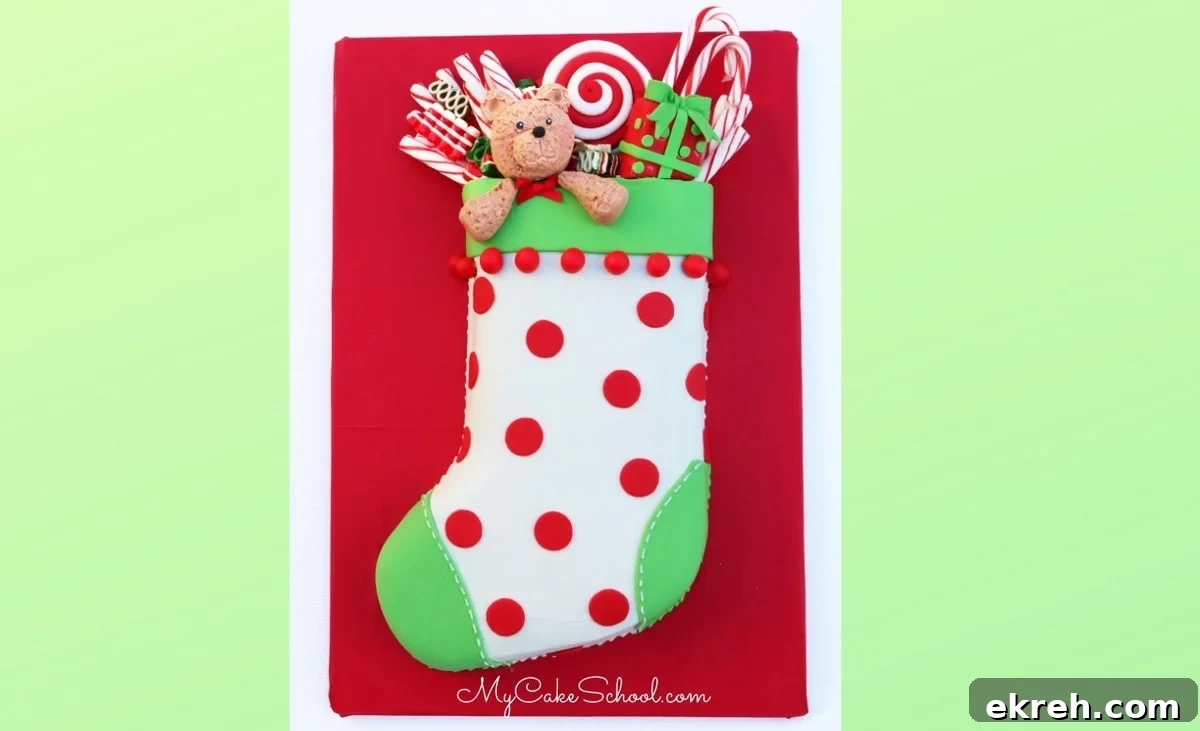
Have you made this? We would love your feedback. Please leave a rating, comment, or photo if you try this cake—your notes help others and inspire future tutorials!