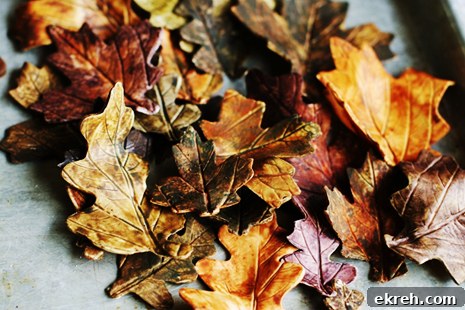
 Fall in Seattle is absolutely stunning right now. You cannot drive anywhere without seeing leaves in shades of deep reds, bright oranges, golden yellows, eggplant purples and every hue in between. The changing light of shorter days makes the colors glow differently from morning to evening, and the crisp air adds a clarity to the scenery that feels like an invitation to slow down, look closely, and take inspiration from the landscape.
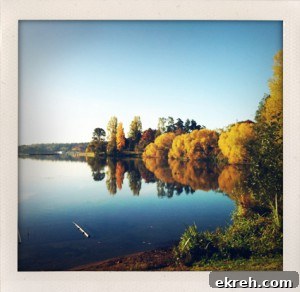 A few days ago I took this photo while walking with my sister Janice and our sons. Even though residential and commercial development has altered many parts of the city, Green Lake remains a familiar and comforting place. That continuity—green spaces that endure through change—always feels grounding. On that walk I noticed how leaves floated across the water, how walkways were carpeted with color, and how a simple stretch of sidewalk could inspire a palette for cake decorating or seasonal crafts. Small moments like this are easy to overlook, but they often spark creative ideas.
Last November I posted a detailed, step-by-step cake decorating tutorial showing how to make realistic Fall gum paste leaves. Inspired by my recent walk around Green Lake, I thought it was worth reposting for anyone who wants to elevate their decorating skills beyond basic borders and shells. The tutorial covers the essential techniques for shaping and coloring gum paste so your leaves look natural and varied, with tips for creating realistic veins, gentle curling, and subtle color transitions that mimic the real thing.
Making gum paste leaves is a rewarding project for home bakers and professional decorators alike. Typical tools and supplies you’ll find helpful include gum paste or modeling paste, leaf cutters in various shapes and sizes, veining tools or impression mats, edible colors such as dusts and gels, small brushes for painting and dusting, and drying foam or paper towels to support shapes while they set. The step-by-step approach in the tutorial emphasizes working thinly for realistic translucence, blending multiple tones to achieve depth, and using gentle pressure when veining to avoid tearing delicate pieces. It also suggests drying times and storage tips so your leaves keep their shape and color until they’re ready to be arranged on a cake.
When planning a seasonal cake design, let the landscape guide your color choices and composition. The reds, oranges, yellows, and purples of Seattle’s autumn supply a ready-made palette; try combining two or three dominant shades with a few muted accents to create contrast and visual interest. Vary the leaf shapes and sizes for a natural look—mix some freshly fallen leaves with others that appear curled or slightly weathered. Arranging leaves in small clusters or as a cascading border down the side of a cake can produce an elegant, organic effect.
If you enjoy photography or sketching, bring a small notebook or use your phone to capture combinations of color and form during walks. These quick references will help when you sit down to color gum paste—matching tones from life often yields the most convincing results. For those who prefer video or hands-on learning, the original post includes detailed photographs and instructions to follow at your own pace.
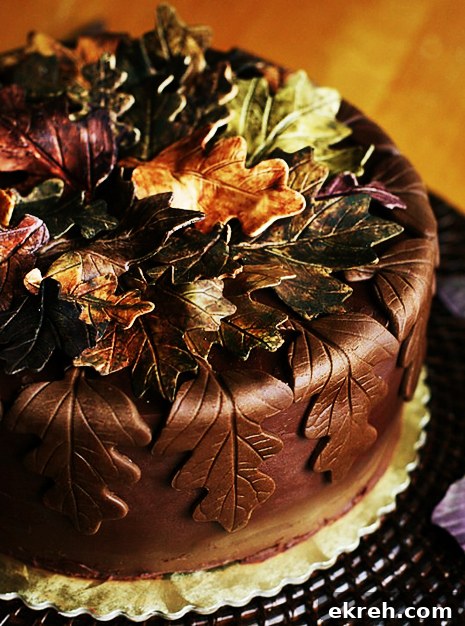
Whether you’re a beginner curious about sugarcraft or an experienced decorator looking for fresh autumn ideas, revisiting the gum paste leaf tutorial can be a great way to celebrate the season and bring the beauty of Fall in Seattle into your baking. Try a few practice pieces, experiment with color layering, and allow the textures and tones you see outdoors to guide your creations. Have a wonderful weekend, and enjoy the colors while they last.