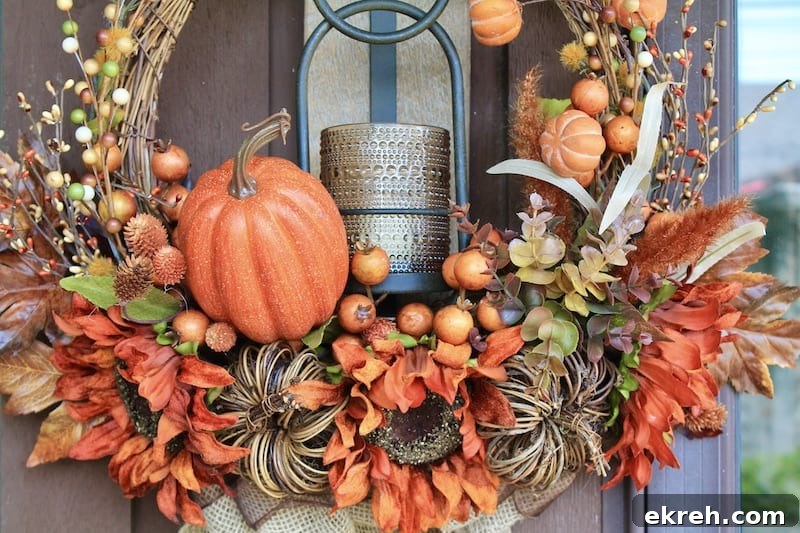
Add the warmth of autumn to your home with this easy DIY pumpkin wreath in cozy spice tones. Chocolate-hued sunflowers, twig pumpkins, and clusters of berries decorate a simple grapevine base, tied together with rustic burlap and a sheer ribbon. Follow a few simple steps to create a welcoming fall wreath you’ll be proud to hang on your front door.
Style an Easy DIY Pumpkin Wreath with Different Pumpkins
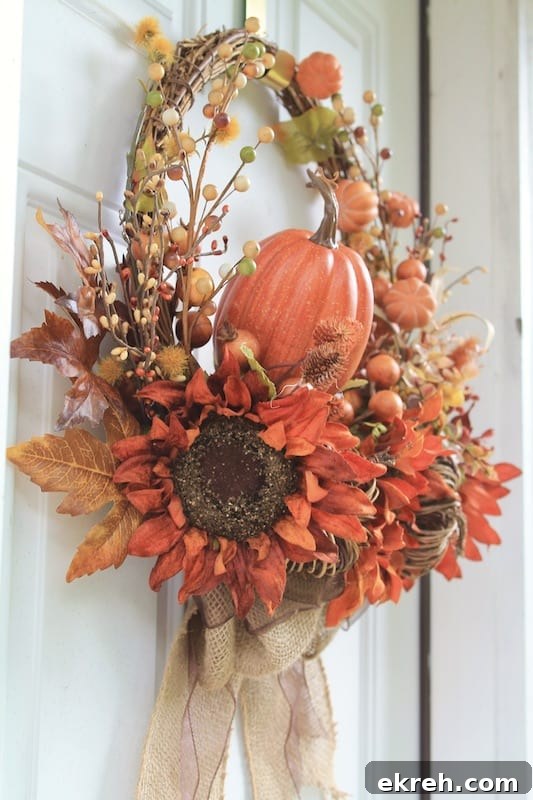
Making a DIY fall pumpkin wreath is one of my favorite ways to welcome the season. Autumn opens the door to so many comforting colors, scents, and textures, and a wreath is a compact, stylish way to capture that cozy feeling.
A circle has long been a meaningful shape for holiday decor: cyclical seasons, continuity, and the idea of home and gathering. That symbolism makes a wreath a natural focal point for fall decorating.
A Mix of Warm Colors Makes The Perfect Festive Fall Wreath
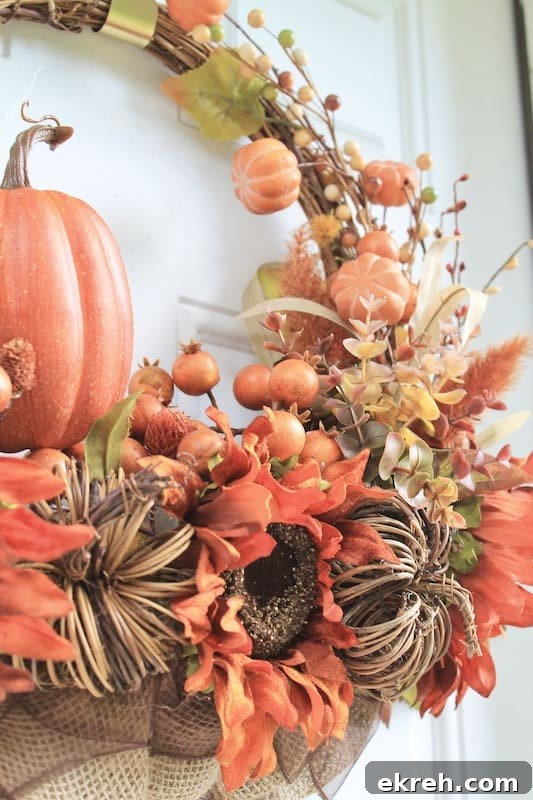
I use a warm palette of burnt orange, deep chocolate, golden yellow, and neutral greens to keep the wreath rich but natural. Those fall spice tones pair beautifully with a grapevine wreath and burlap ribbon for an inviting, farmhouse look.
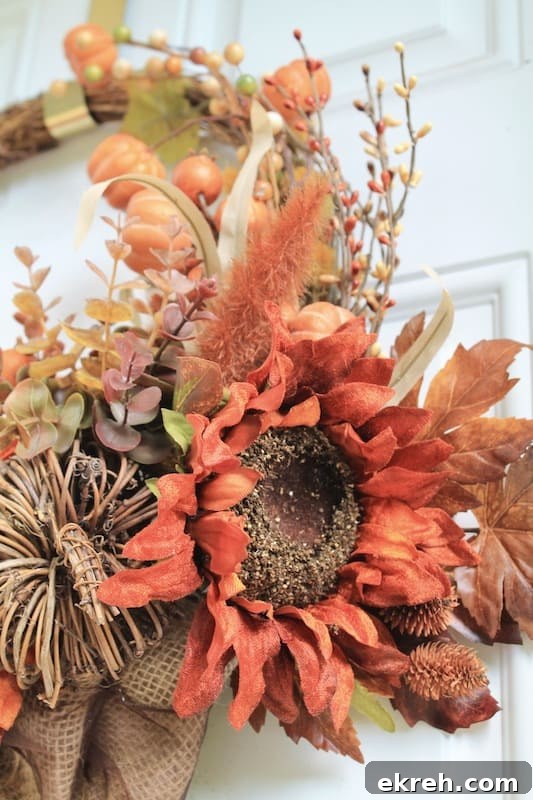
How To Make A DIY Pumpkin Wreath With Fall Colors
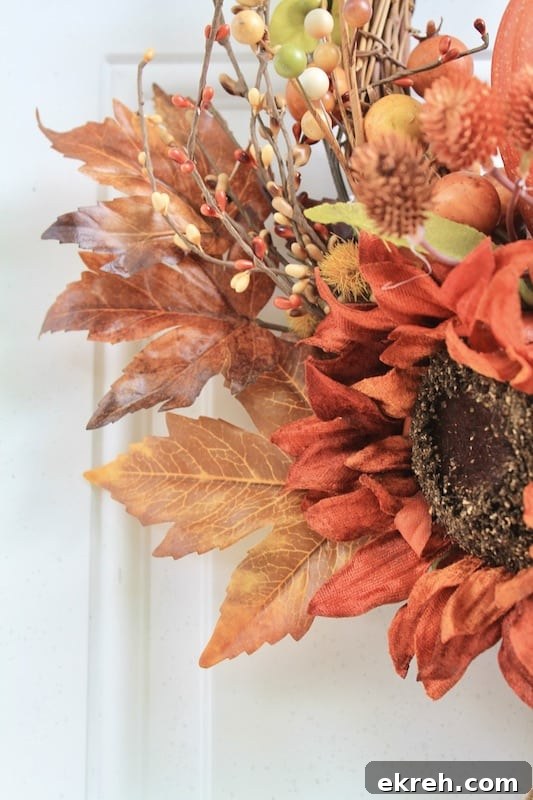
If seasonal decorating brings you joy, this wreath—layered with pumpkins, berries, and textured florals—will quickly become a favorite. It’s approachable to assemble and makes a big impact on your front door or entryway.
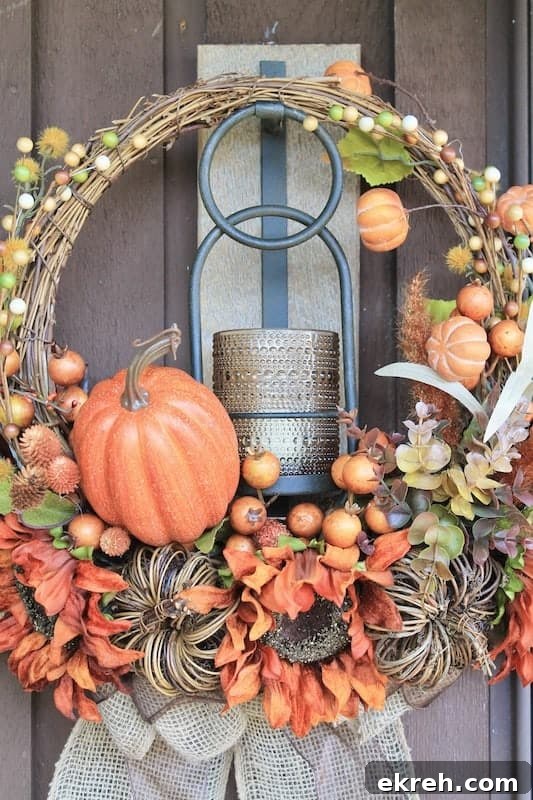
The design balances rustic charm with an elegant color story. Use a grapevine wreath as the base and layer in seasonal elements to achieve a textured, cohesive look.
Use Different Sized Pumpkins to Add Character and Texture to Your DIY Pumpkin Wreath
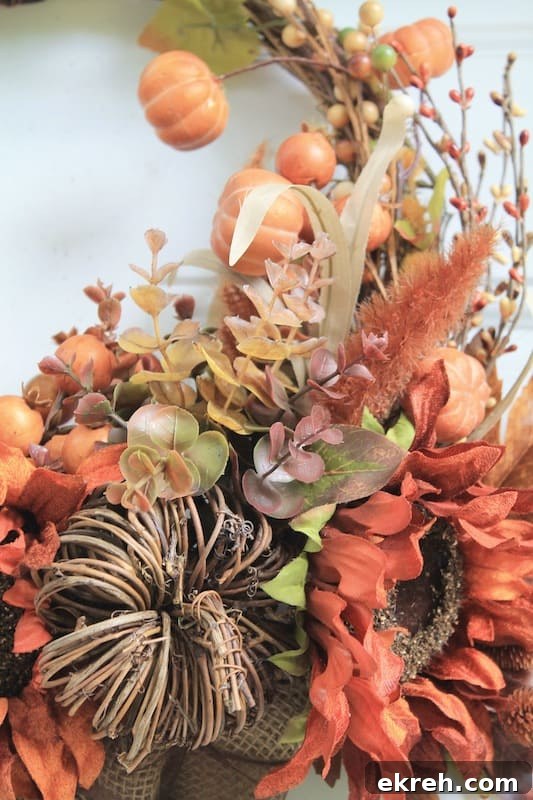
I use three pumpkin styles to create contrast and interest. A larger wire pumpkin outline serves as a focal accent, while smaller foam or faux pumpkins tuck neatly among the foliage. Rustic twig or grapevine mini pumpkins add texture and a handmade feel.
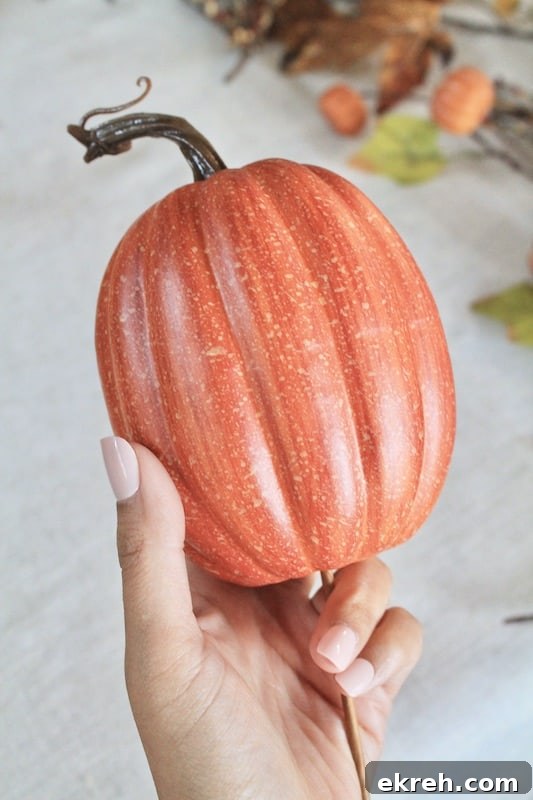
Smaller pumpkins mounted on short stems are easy to insert into the wreath form and help fill gaps without overwhelming the composition.
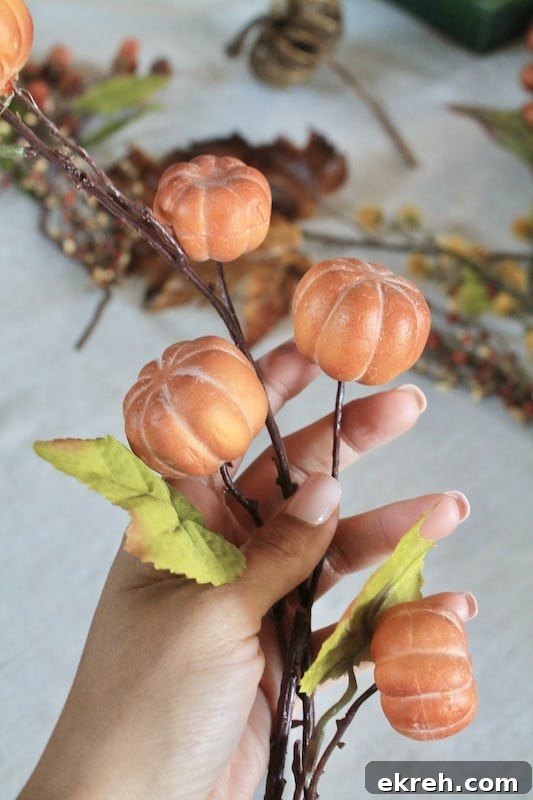
I like to tuck rustic twig pumpkins among chocolate-colored sunflowers and clusters of berries for a natural, harvest-ready arrangement. Shopping seasonal aisles for a variety of stems lets you mix and match pieces until the wreath feels balanced.
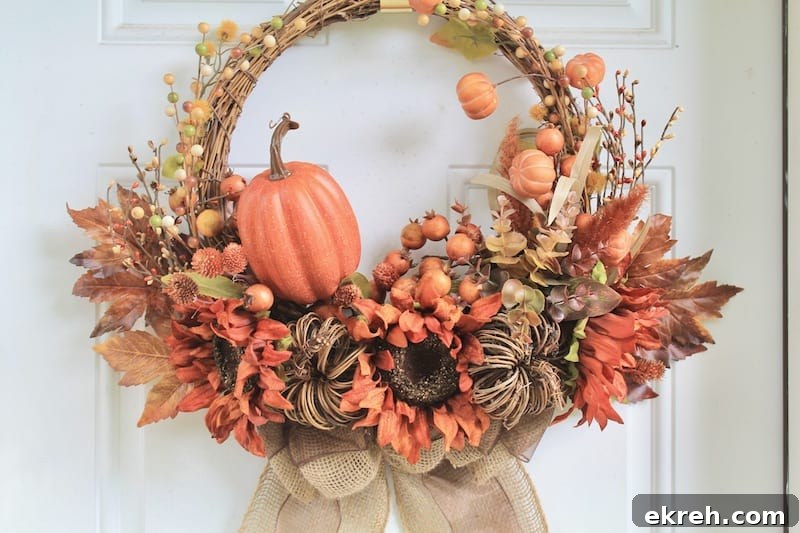
Collect small accents—berries, mini gourds, and leafy stems—to layer textures and colors. Those tiny details make a wreath look thoughtful and finished.
Add Some Fall Foliage to Your DIY Pumpkin Wreath
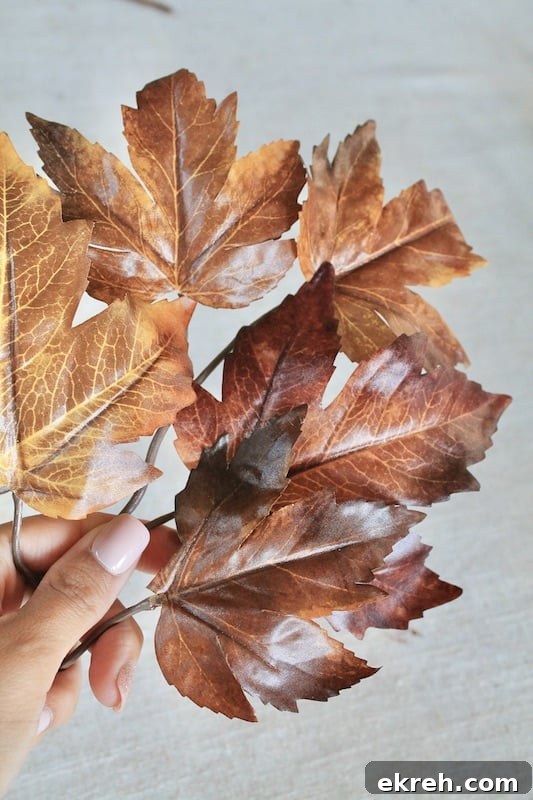
Maple leaves, pip berries, and seed branches give the wreath a woodland edge. Tuck brown maple leaves around the outer edge as a framing element, then weave berry sprays and seed pods into the interior to reinforce the color scheme.
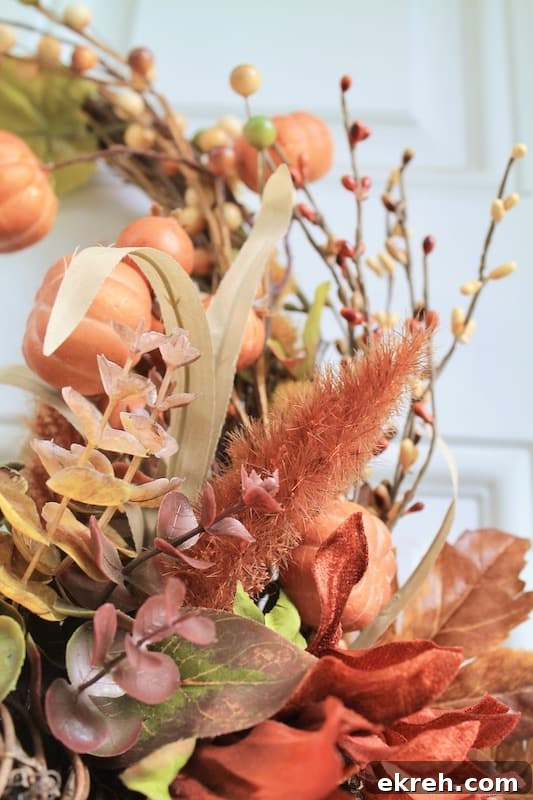
Pip berry branches in shades of brown and orange are versatile and add seasonal depth. Neutral stems like eucalyptus balance the richer tones and lend a refined, rustic touch.
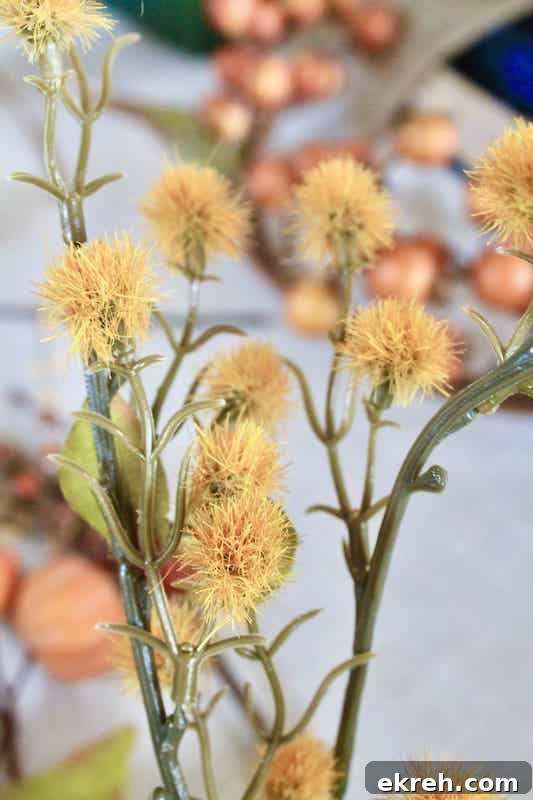
A hint of golden yellow brightens the palette, while larger berry clusters help frame the pumpkins and guide the eye around the wreath.
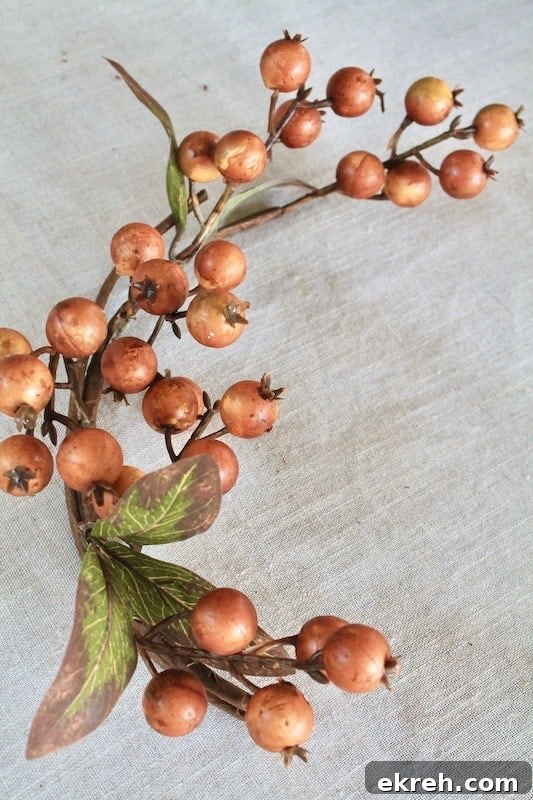
I favor natural-colored accents—seeds, twigs, and muted greens—to keep the arrangement grounded and organic in appearance.
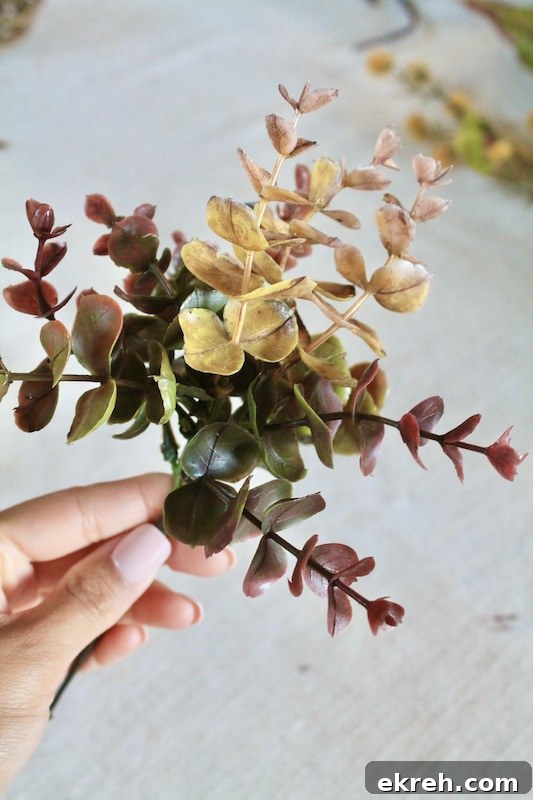
Soft textures like pampas or fox tail grass can add lightness and movement, especially when layered behind sturdier elements like sunflowers and pumpkins.
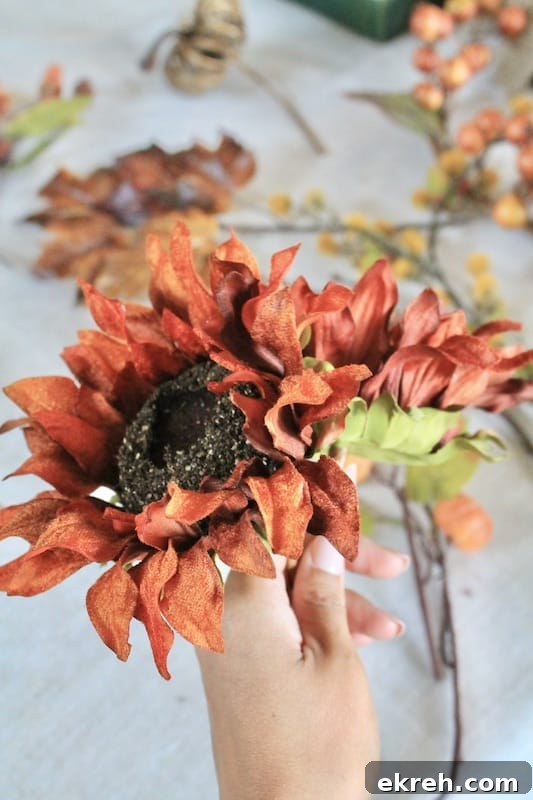
Putting this wreath together is a joyful creative exercise—mixing stems, pumpkins, and ribbon until the composition feels right. It’s one of my favorite fall projects because it captures the season’s warmth in a simple, handmade piece.
Attach Your Bow to the Bottom of the Fall Wreath
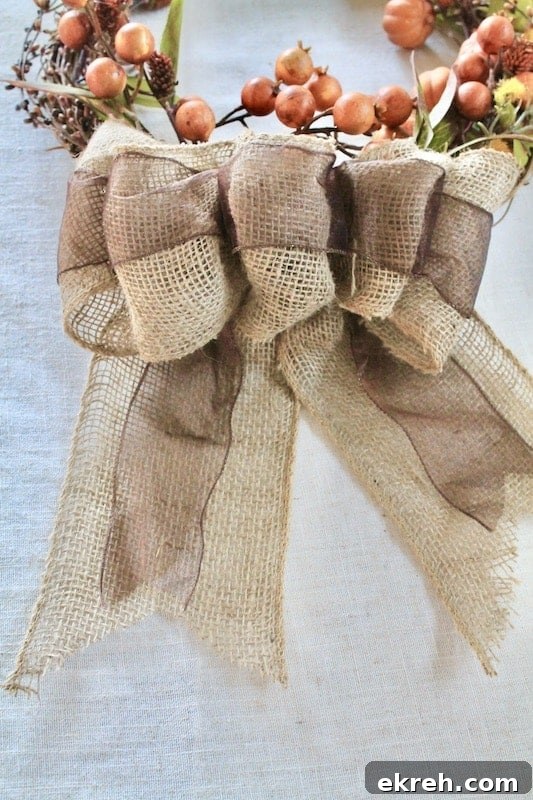
I like to start by creating and attaching the bow. For this design, place the bow at the bottom of the grapevine wreath so it draws the eye downward. Layer burlap with a sheer chocolate-brown organza ribbon for texture, then secure the bow with floral wire and tuck the twisted ends to the back of the wreath.
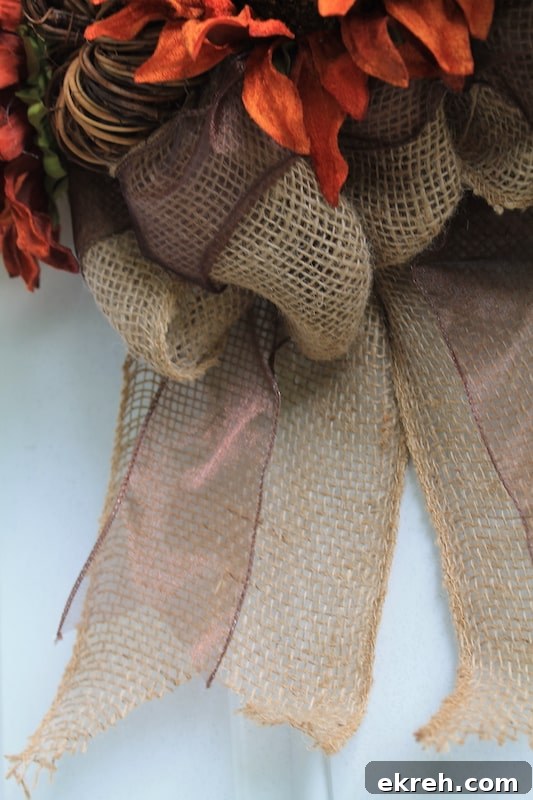
Leave a little extra wire on the back to anchor the bow to the grapevine form; a short length is all you need to twist it securely in place.
Start by Adding Slender Pieces First
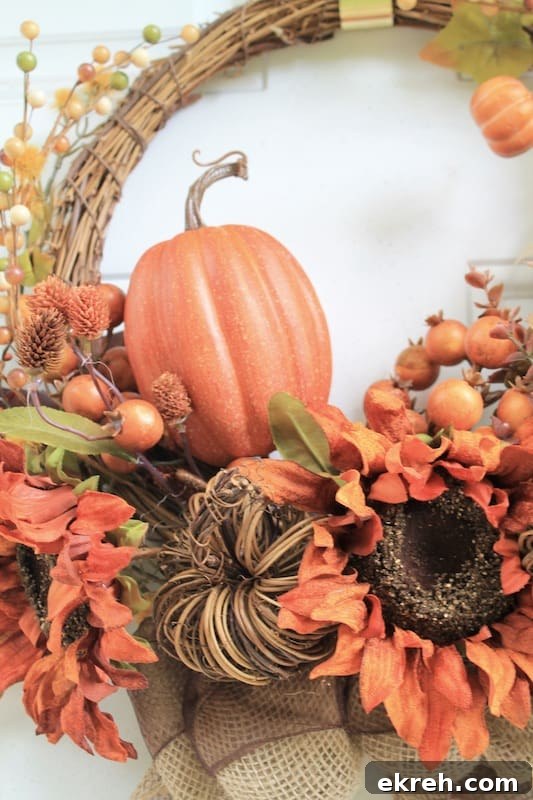
Begin the arrangement by inserting thin vines, small berry stems, and skinny foliage. These act like the “arms and legs” of the wreath and help you establish the shape and flow before adding heavier elements.
Tuck these slender pieces into the grapevine base, weaving and curling them so they stay put as you add more layers.
Layer Bigger Pieces on Your Pumpkin Wreath
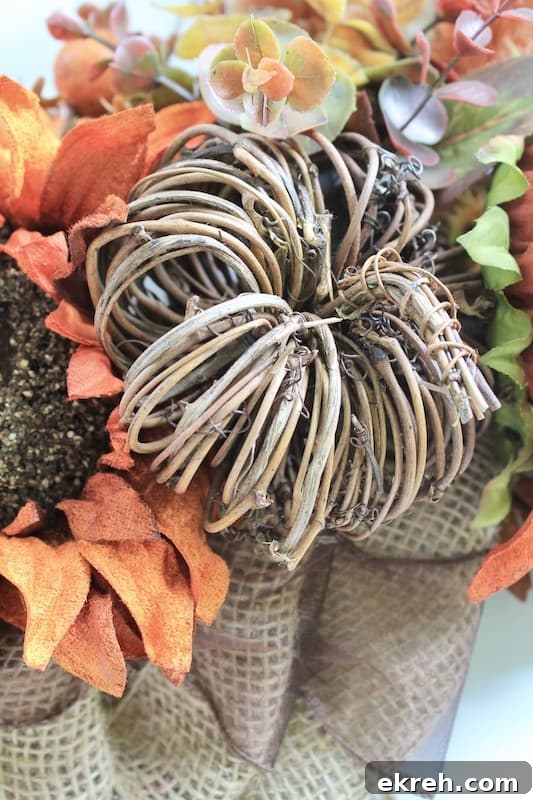
After the thin stems are in place, add larger elements like chunky berries, big florals, and pumpkin accents. Position these over the initial layer to build depth and focal points. Balance heavier pieces around the wreath so the design feels even and inviting.
Secure Decorations with Glue or Wire and Position in the Grapevine Wreath Form
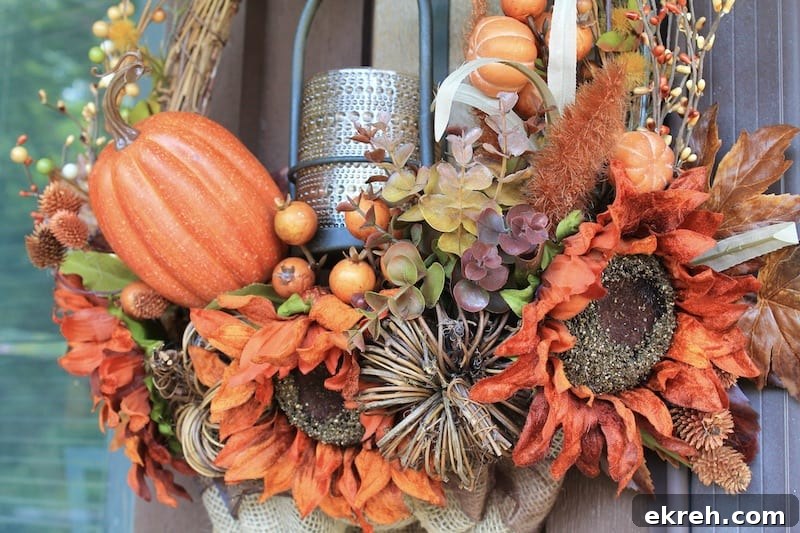
Bend the wire stems at the base of pumpkins, gourds, and flowers to give them a natural tilt. Tuck each stem into the grapevine wreath and adjust as you go. If you want extra security, dab hot glue at the stem base before inserting or add a small bead of glue after positioning.
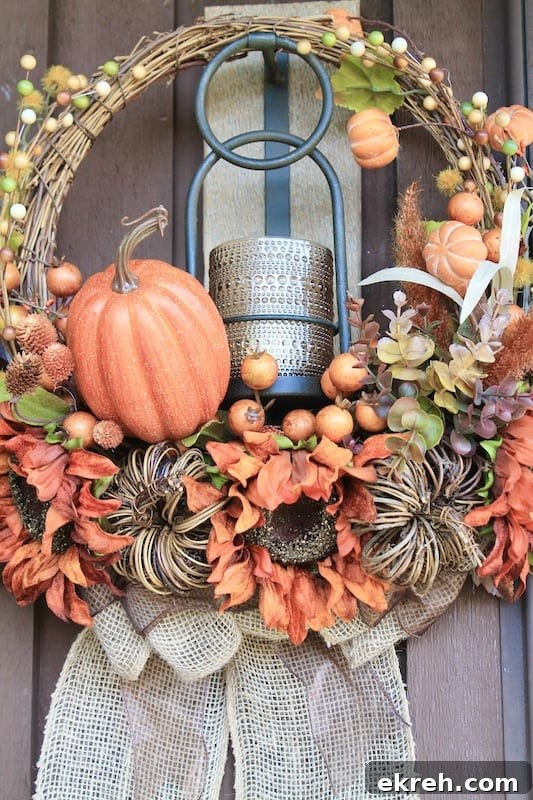
With a few carefully chosen accents and a thoughtful arrangement, you can assemble a beautiful pumpkin wreath in just a few steps. Keep these color and texture ideas in mind for other pumpkin-shaped wreath forms as well.
Hang and Enjoy Your Festive DIY Pumpkin Wreath to Welcome the Season
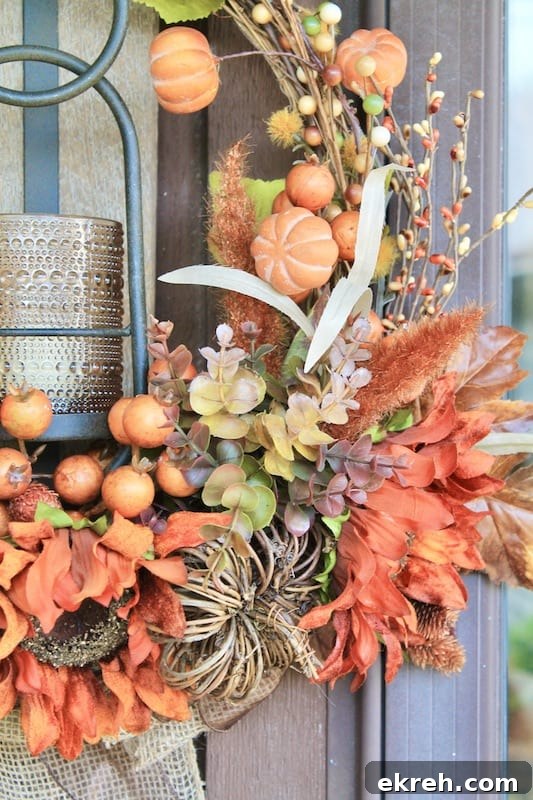
Display this wreath on your front door or patio as part of a cozy fall vignette. Surround it with hay bales, pumpkins, and a playful scarecrow for a welcoming autumn porch.
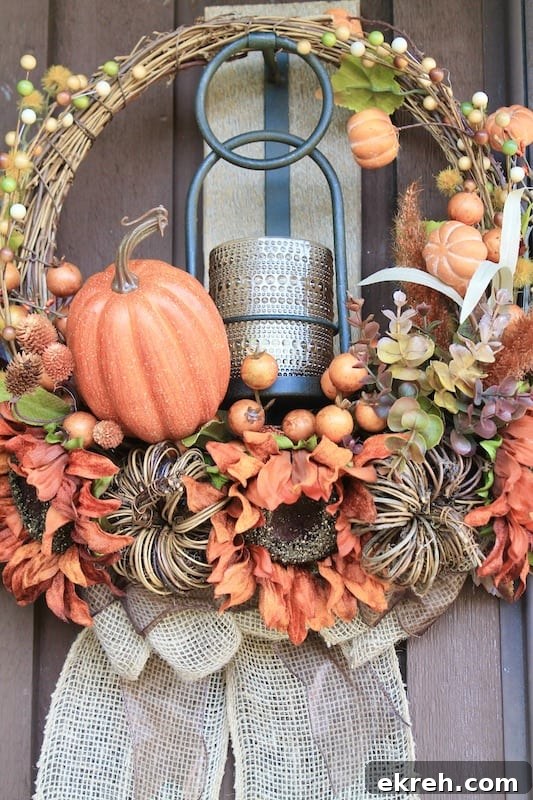
This rustic pumpkin wreath also works beautifully as a Thanksgiving wreath. Keep it up through Halloween and Thanksgiving for long-lasting seasonal charm.
You Might Also Like…
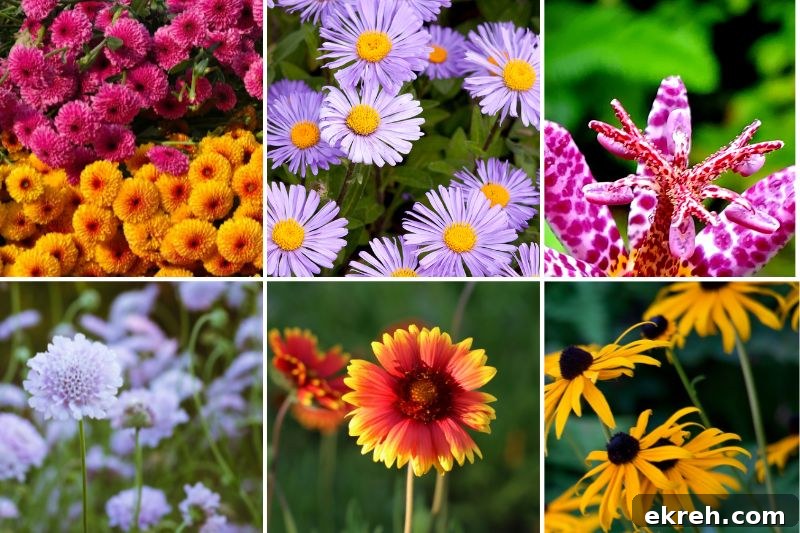
Flowers You Can Plant in the Fall For Blooming Autumn Color
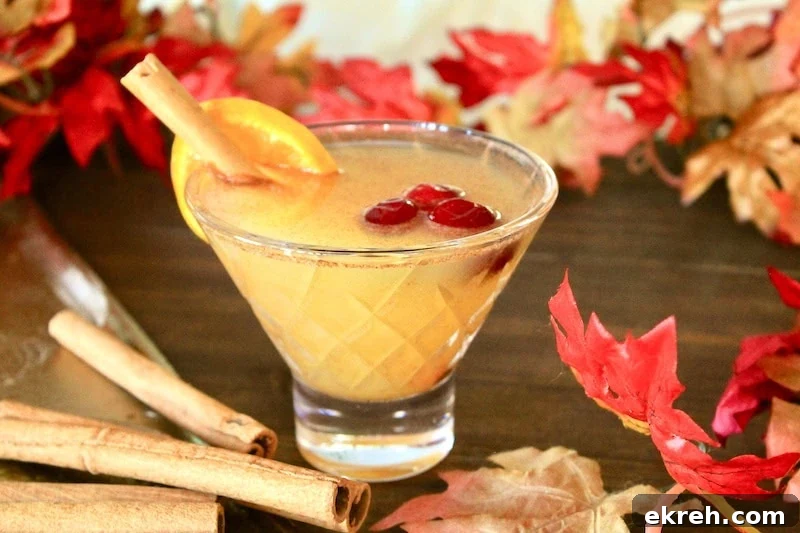
Autumn Breeze Elixir | Easy Fall Cocktail with Vodka
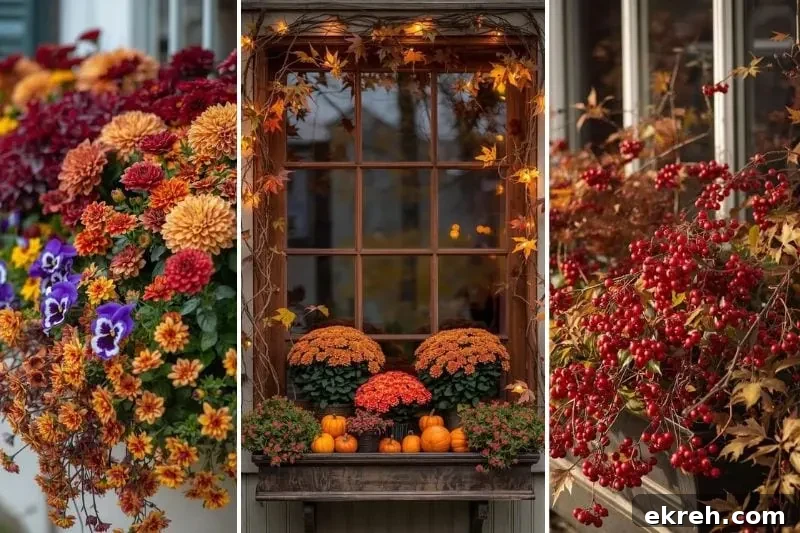
Fall Window Box Ideas for a Luscious Autumn Display
15 Sexy Fall Outfits for a Crisp Night on the Town