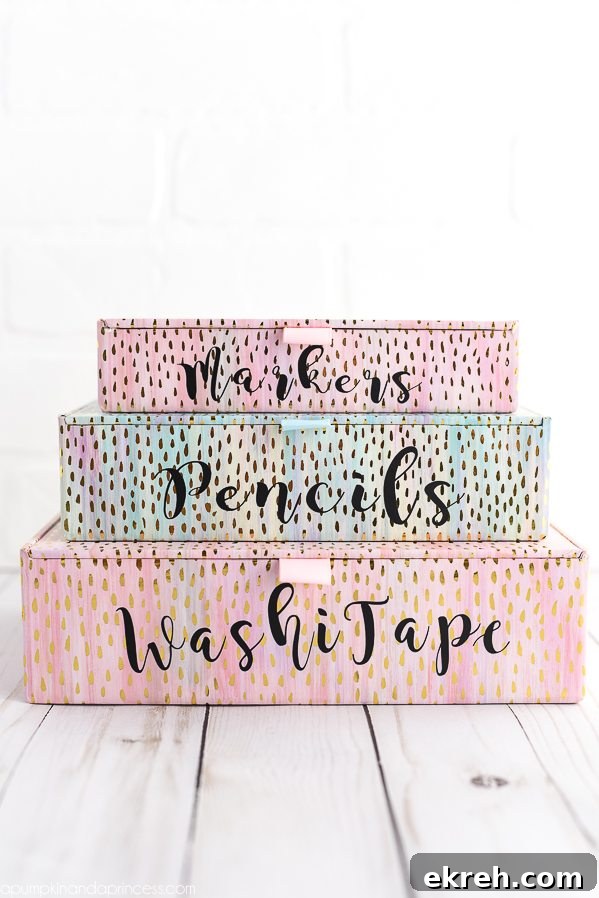
DIY Desk Organizers – keep your office and school supplies organized with vinyl labeled gold foil boxes.This post is part of the Expressions Vinyl ambassador program and contains affiliate links – all opinions are my own.
Every year, once the holiday decorations come down, I get the urge to declutter and reorganize the house. Whether it’s the freshness of a new year or simply a desire for a cleaner workspace after the busy season, a good clear-out helps reset both the home and my workflow. Over time we collect craft supplies, school materials, and small office items that pile up in drawers and on desks. This project focuses on taming that clutter by creating attractive, labeled desk organizers using vinyl labels applied to gold foil boxes.
DIY Desk Organizers
Supplies:
Matte black vinyl from Expressions Vinyl
Gold foil storage boxes from Michaels
Cutting machine (Cricut or Silhouette)
Transfer tape
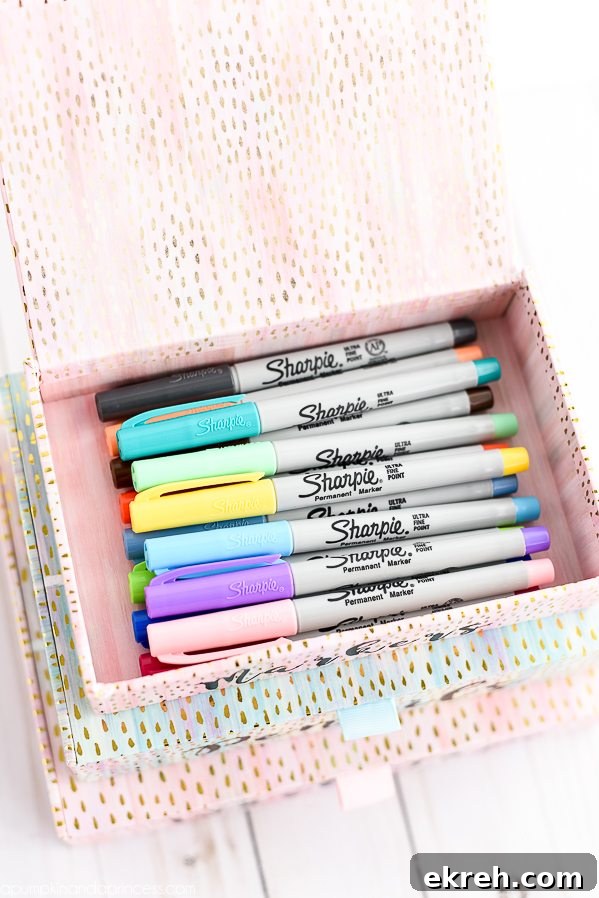
These organizers are easy to customize to fit any desk or craft space. Choose box sizes that suit the items you want to store — taller boxes for scissors and rulers, shallow boxes for sticky notes and paper clips, and medium boxes for pens and markers. The matte black vinyl gives a crisp, modern contrast against gold foil boxes for a clean, polished look.
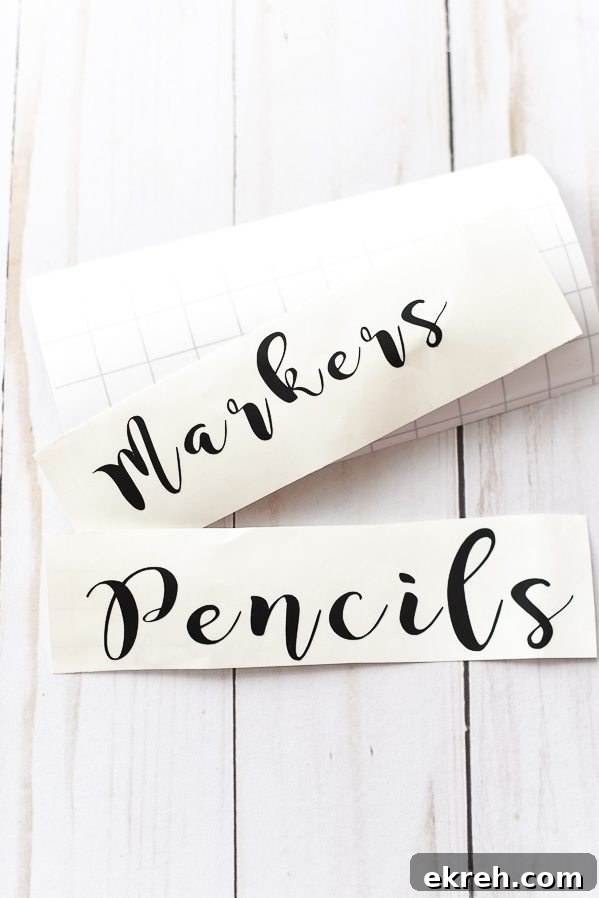
Step one: Measure each box before creating labels. Accurate measurements ensure the text and graphics fit the front panel without crowding. In my project I used the Bromello font because its flowing script pairs nicely with gold foil, but choose a font that matches your style and remains legible at small sizes.
Step two: Cut the vinyl using your cutting machine. After cutting, weed the excess vinyl carefully so only the intended letters or shapes remain. Use transfer tape to lift the design from the backing and position it on the box. Clear transfer tape is especially useful because you can see exactly where the vinyl will land. Press the design down firmly, then slowly remove the transfer tape at a low angle to leave the vinyl smoothly adhered to the surface.
Tips for a professional finish:
- Work on a clean, dry surface to ensure the vinyl bonds well to the box material.
- If your boxes have seams or textured surfaces, place the label on the flattest section for best adhesion.
- Use a burnishing tool or a clean credit card to smooth the vinyl and eliminate air bubbles.
- Keep label text short and specific — for example: “Markers,” “Pencils,” “Tape,” “Clips” — so items are easy to find at a glance.
Once the labels are applied, arrange the boxes on your desk or shelving where they are both accessible and visually balanced. Group similar items together — writing tools in one area, tapes and adhesives in another — to streamline your workflow. These boxes not only organize supplies but also create a cohesive look that makes your workspace feel calmer and more inviting.
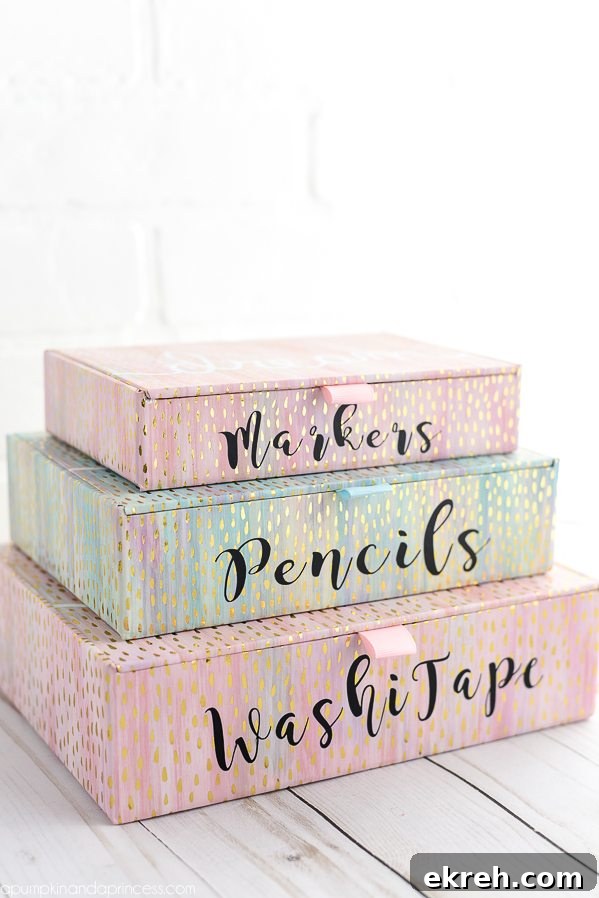
Maintenance is simple: every few weeks do a quick sweep of the desk, return stray items to their labeled containers, and remove anything you no longer use. Over time you can expand this approach to other areas — craft rooms, homework stations, bathroom cabinets — using different box sizes and label styles to suit each space.
35 Organization Ideas