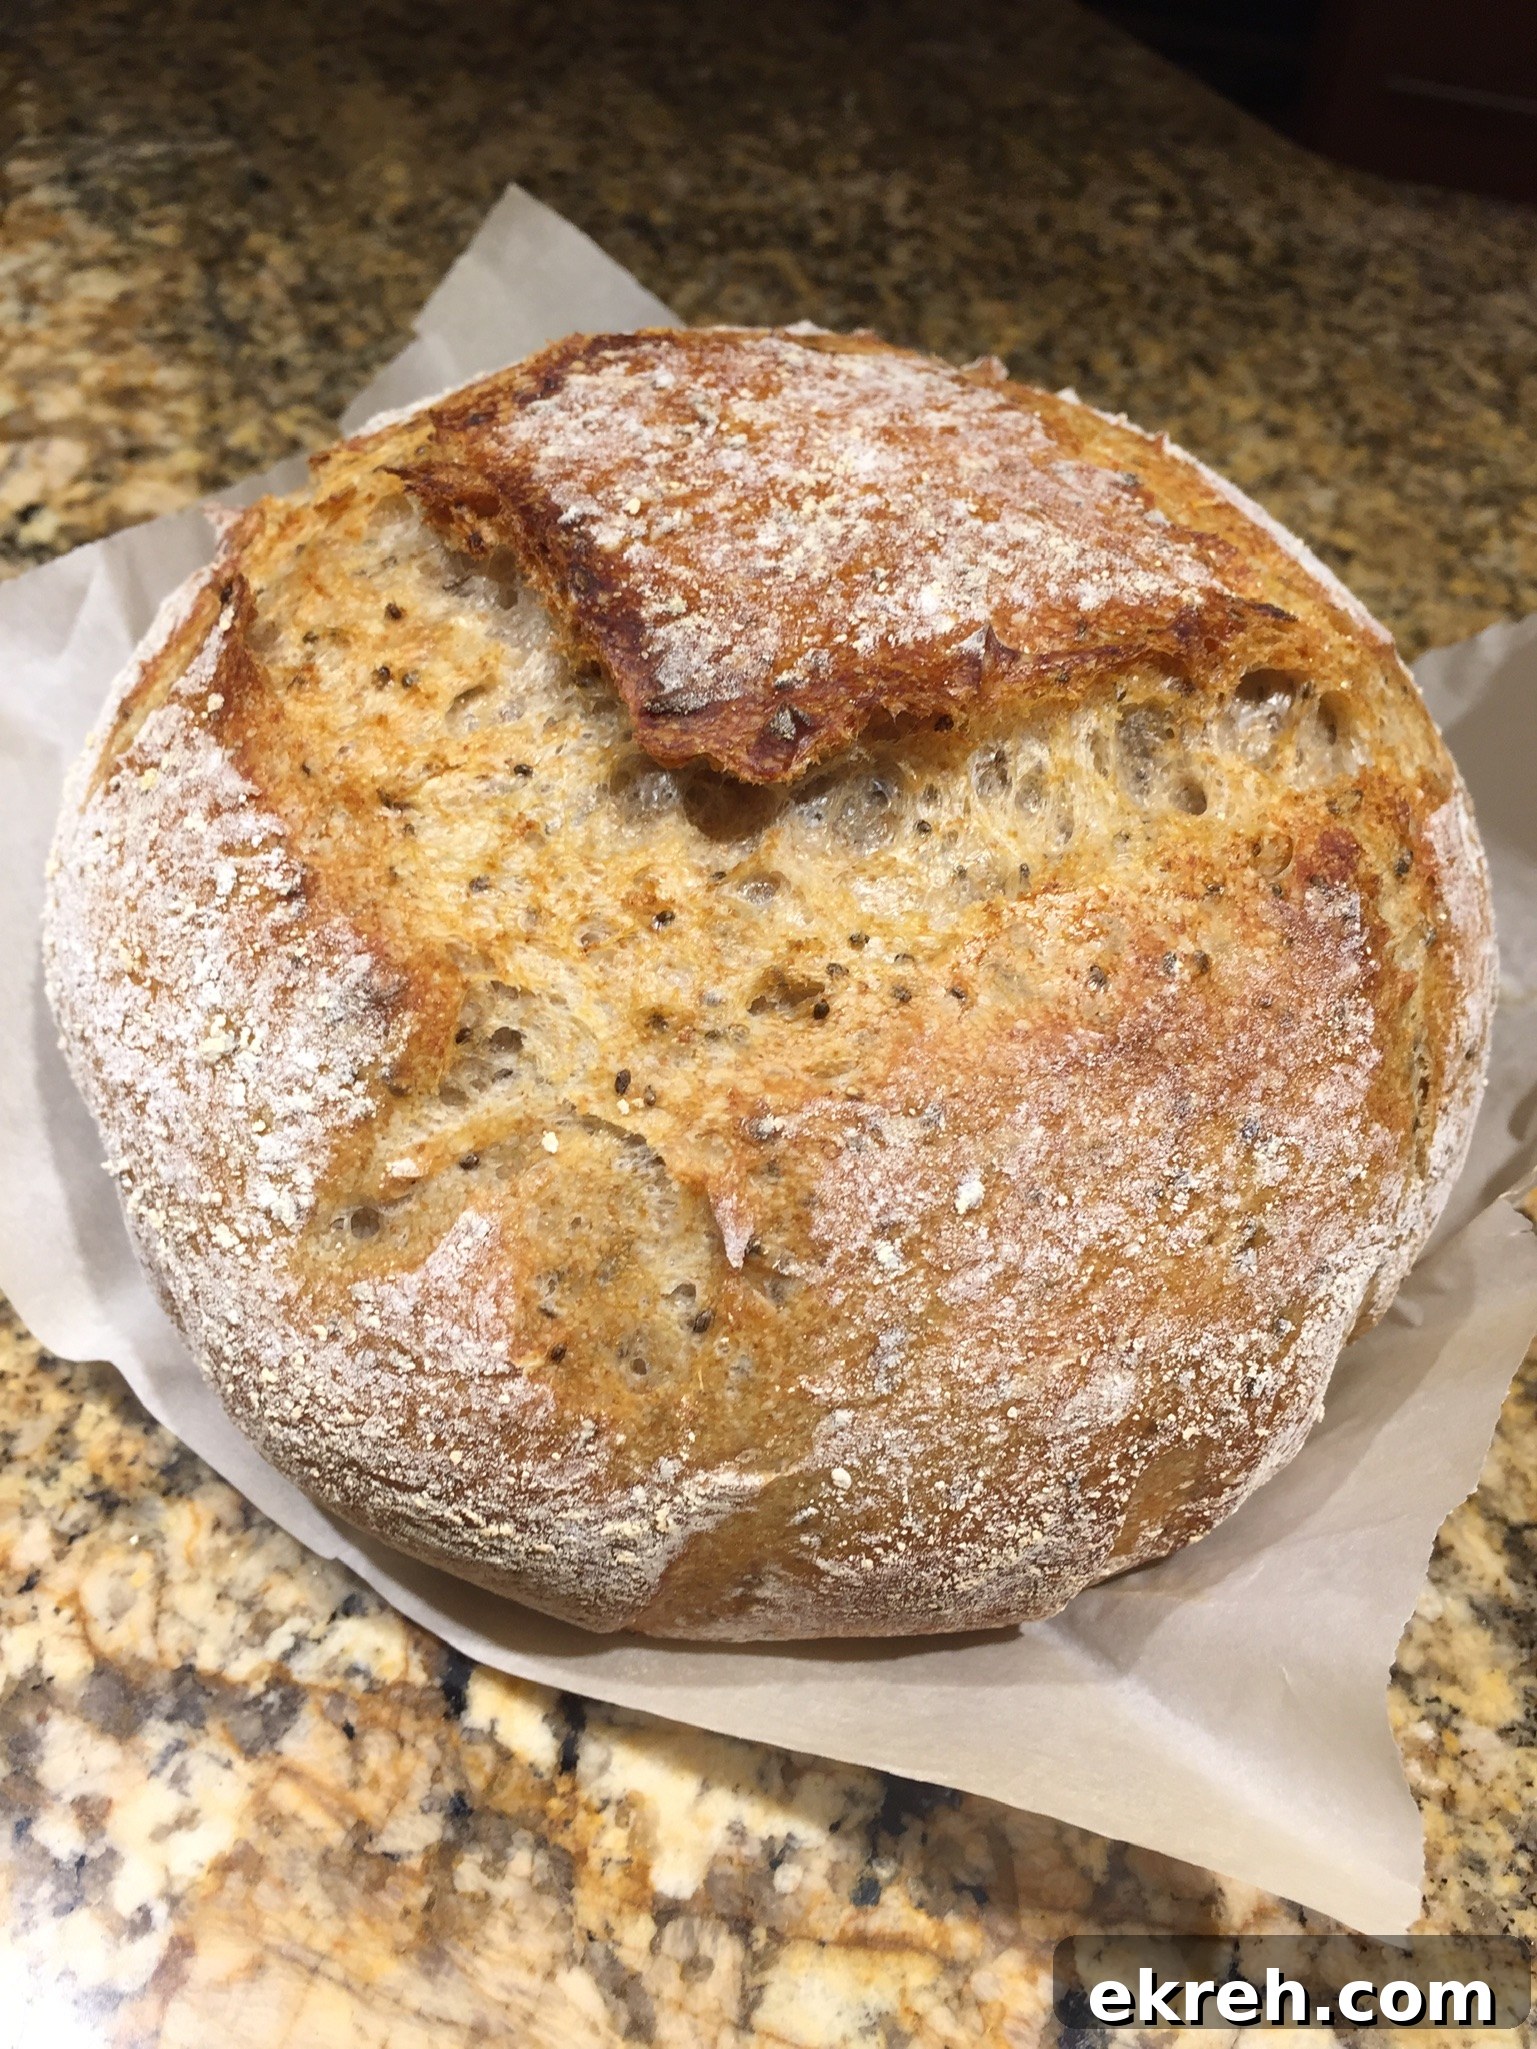
I love chia seed sourdough bread. It’s become my go-to loaf because of its nutritious profile and the pleasant crunch chia seeds add when toasted. Chia seeds are hydrophilic—they absorb a lot of water—so hydration is the key to success. If you use too little water the bread will be dry; with the right amount it stays moist, keeps longer, and offers a boost of nutrients and fiber. Chia seeds are packed with antioxidants and essential minerals. A one-ounce (28 g) serving of chia seeds contains roughly:
- Fiber: 11 g
- Protein: 4 g
- Fat: 9 g (about 5 g are omega-3s)
- Calcium: ~18% of the RDI
- Manganese: ~30% of the RDI
- Magnesium: ~30% of the RDI
- Phosphorus: ~27% of the RDI
- They also supply zinc, niacin (vitamin B3), potassium, thiamine (B1) and riboflavin (B2).
Tips for making chia seed sourdough bread
Certain components require overnight preparation so plan ahead:
- Prepare your levain (active starter) the night before so it’s lively and bubbly.
- Soak chia seeds in boiling water, stir, and leave them to hydrate overnight so they fully swell and thicken.
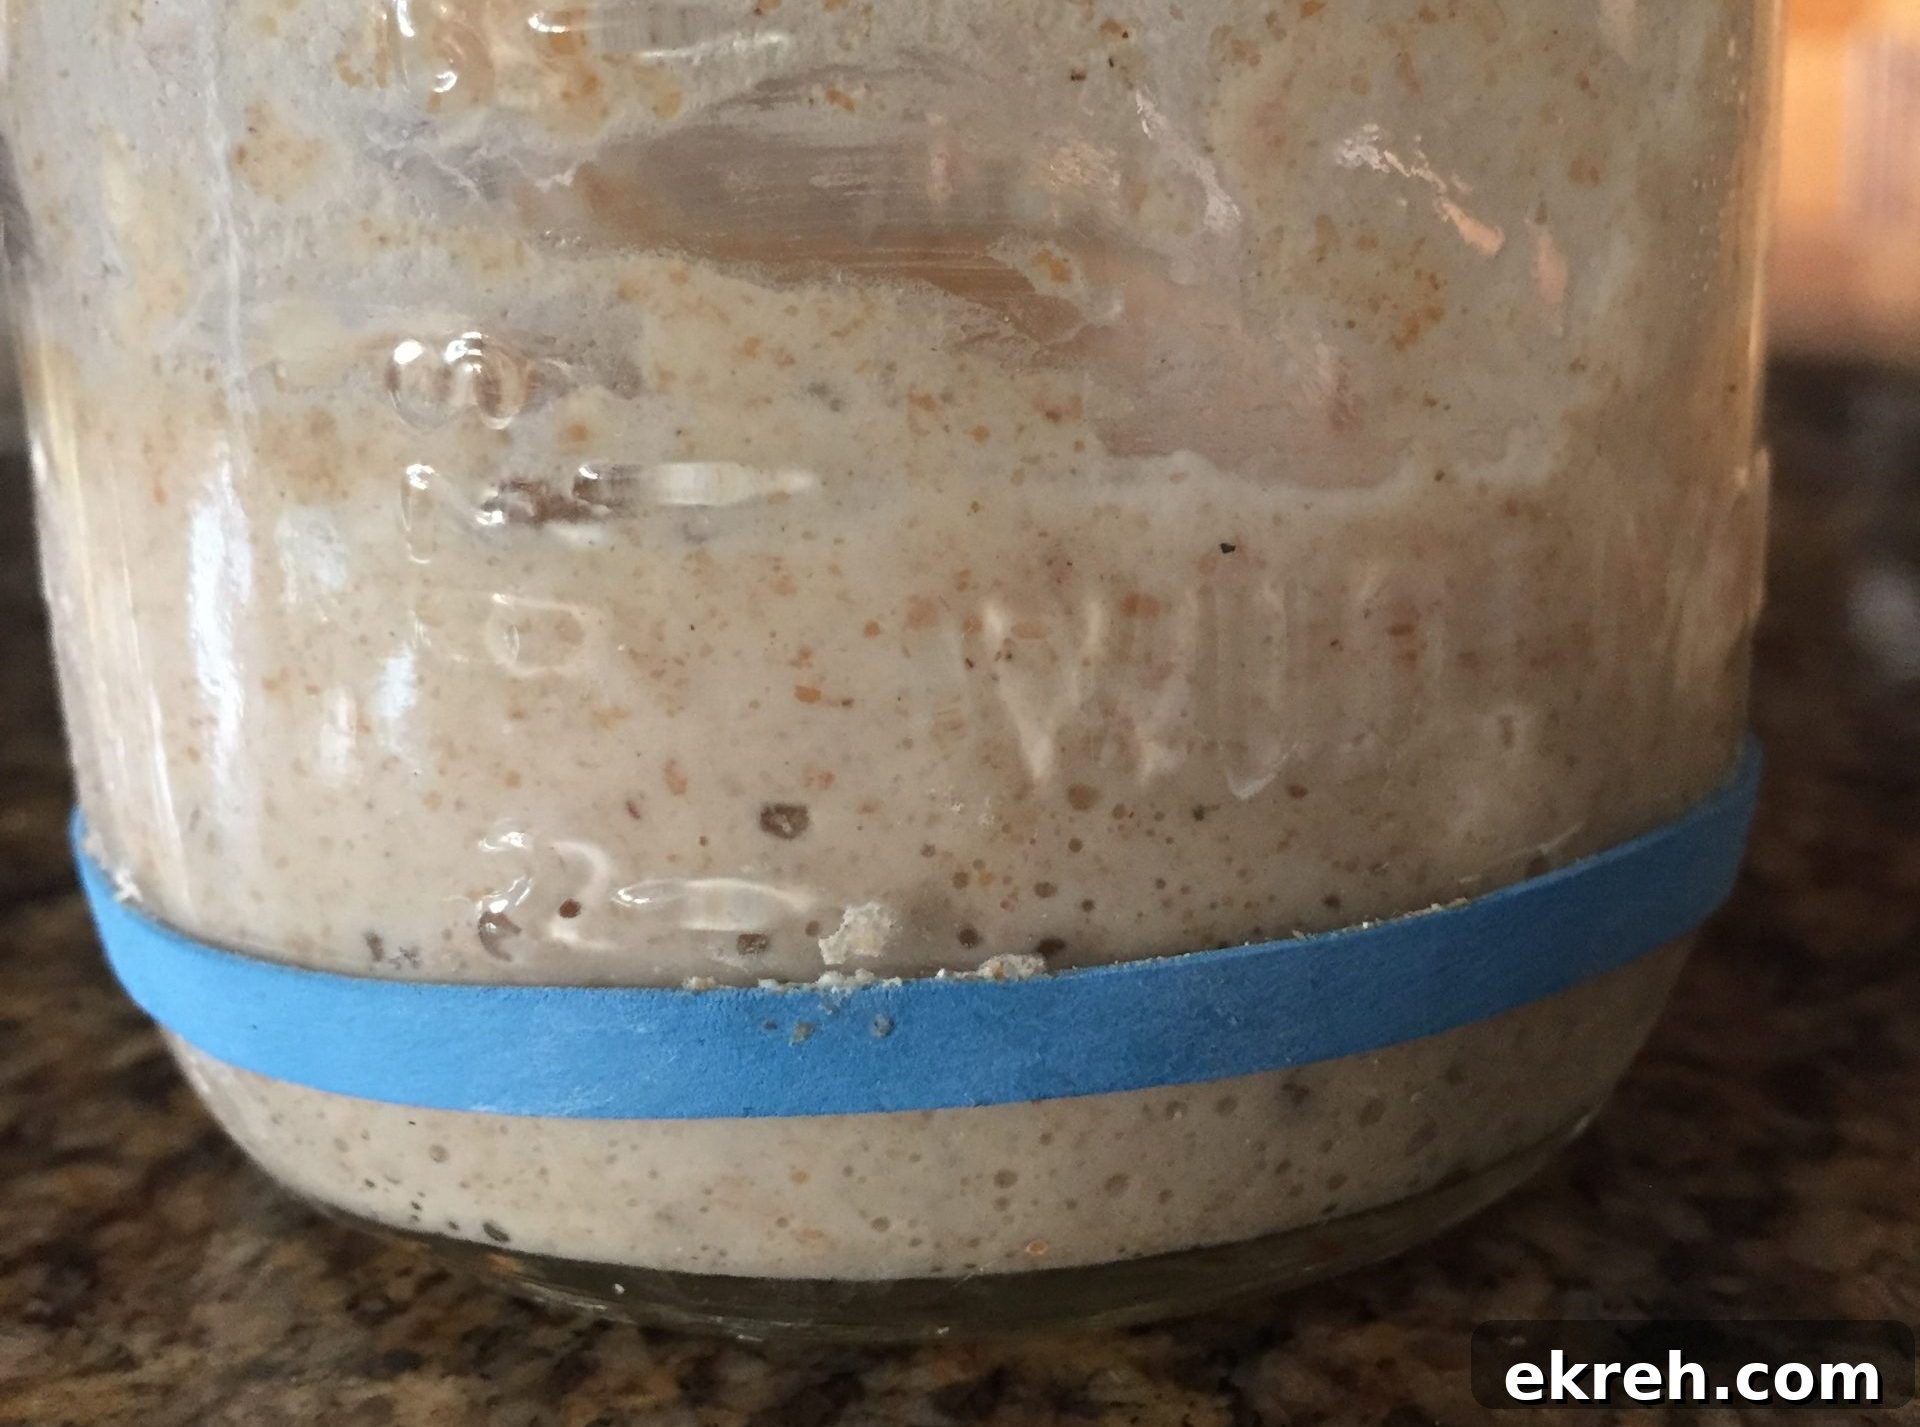
Levain doubled in volume after feeding.
Flour
Sift the bread and whole wheat flours before mixing. Some bread flours are finely milled and tend to clump; sifting prevents lumps and helps even hydration.
Levain
Your levain should be active, airy, and buoyant. A well-fed levain will be light and should be able to float when placed in water.
Autolyse
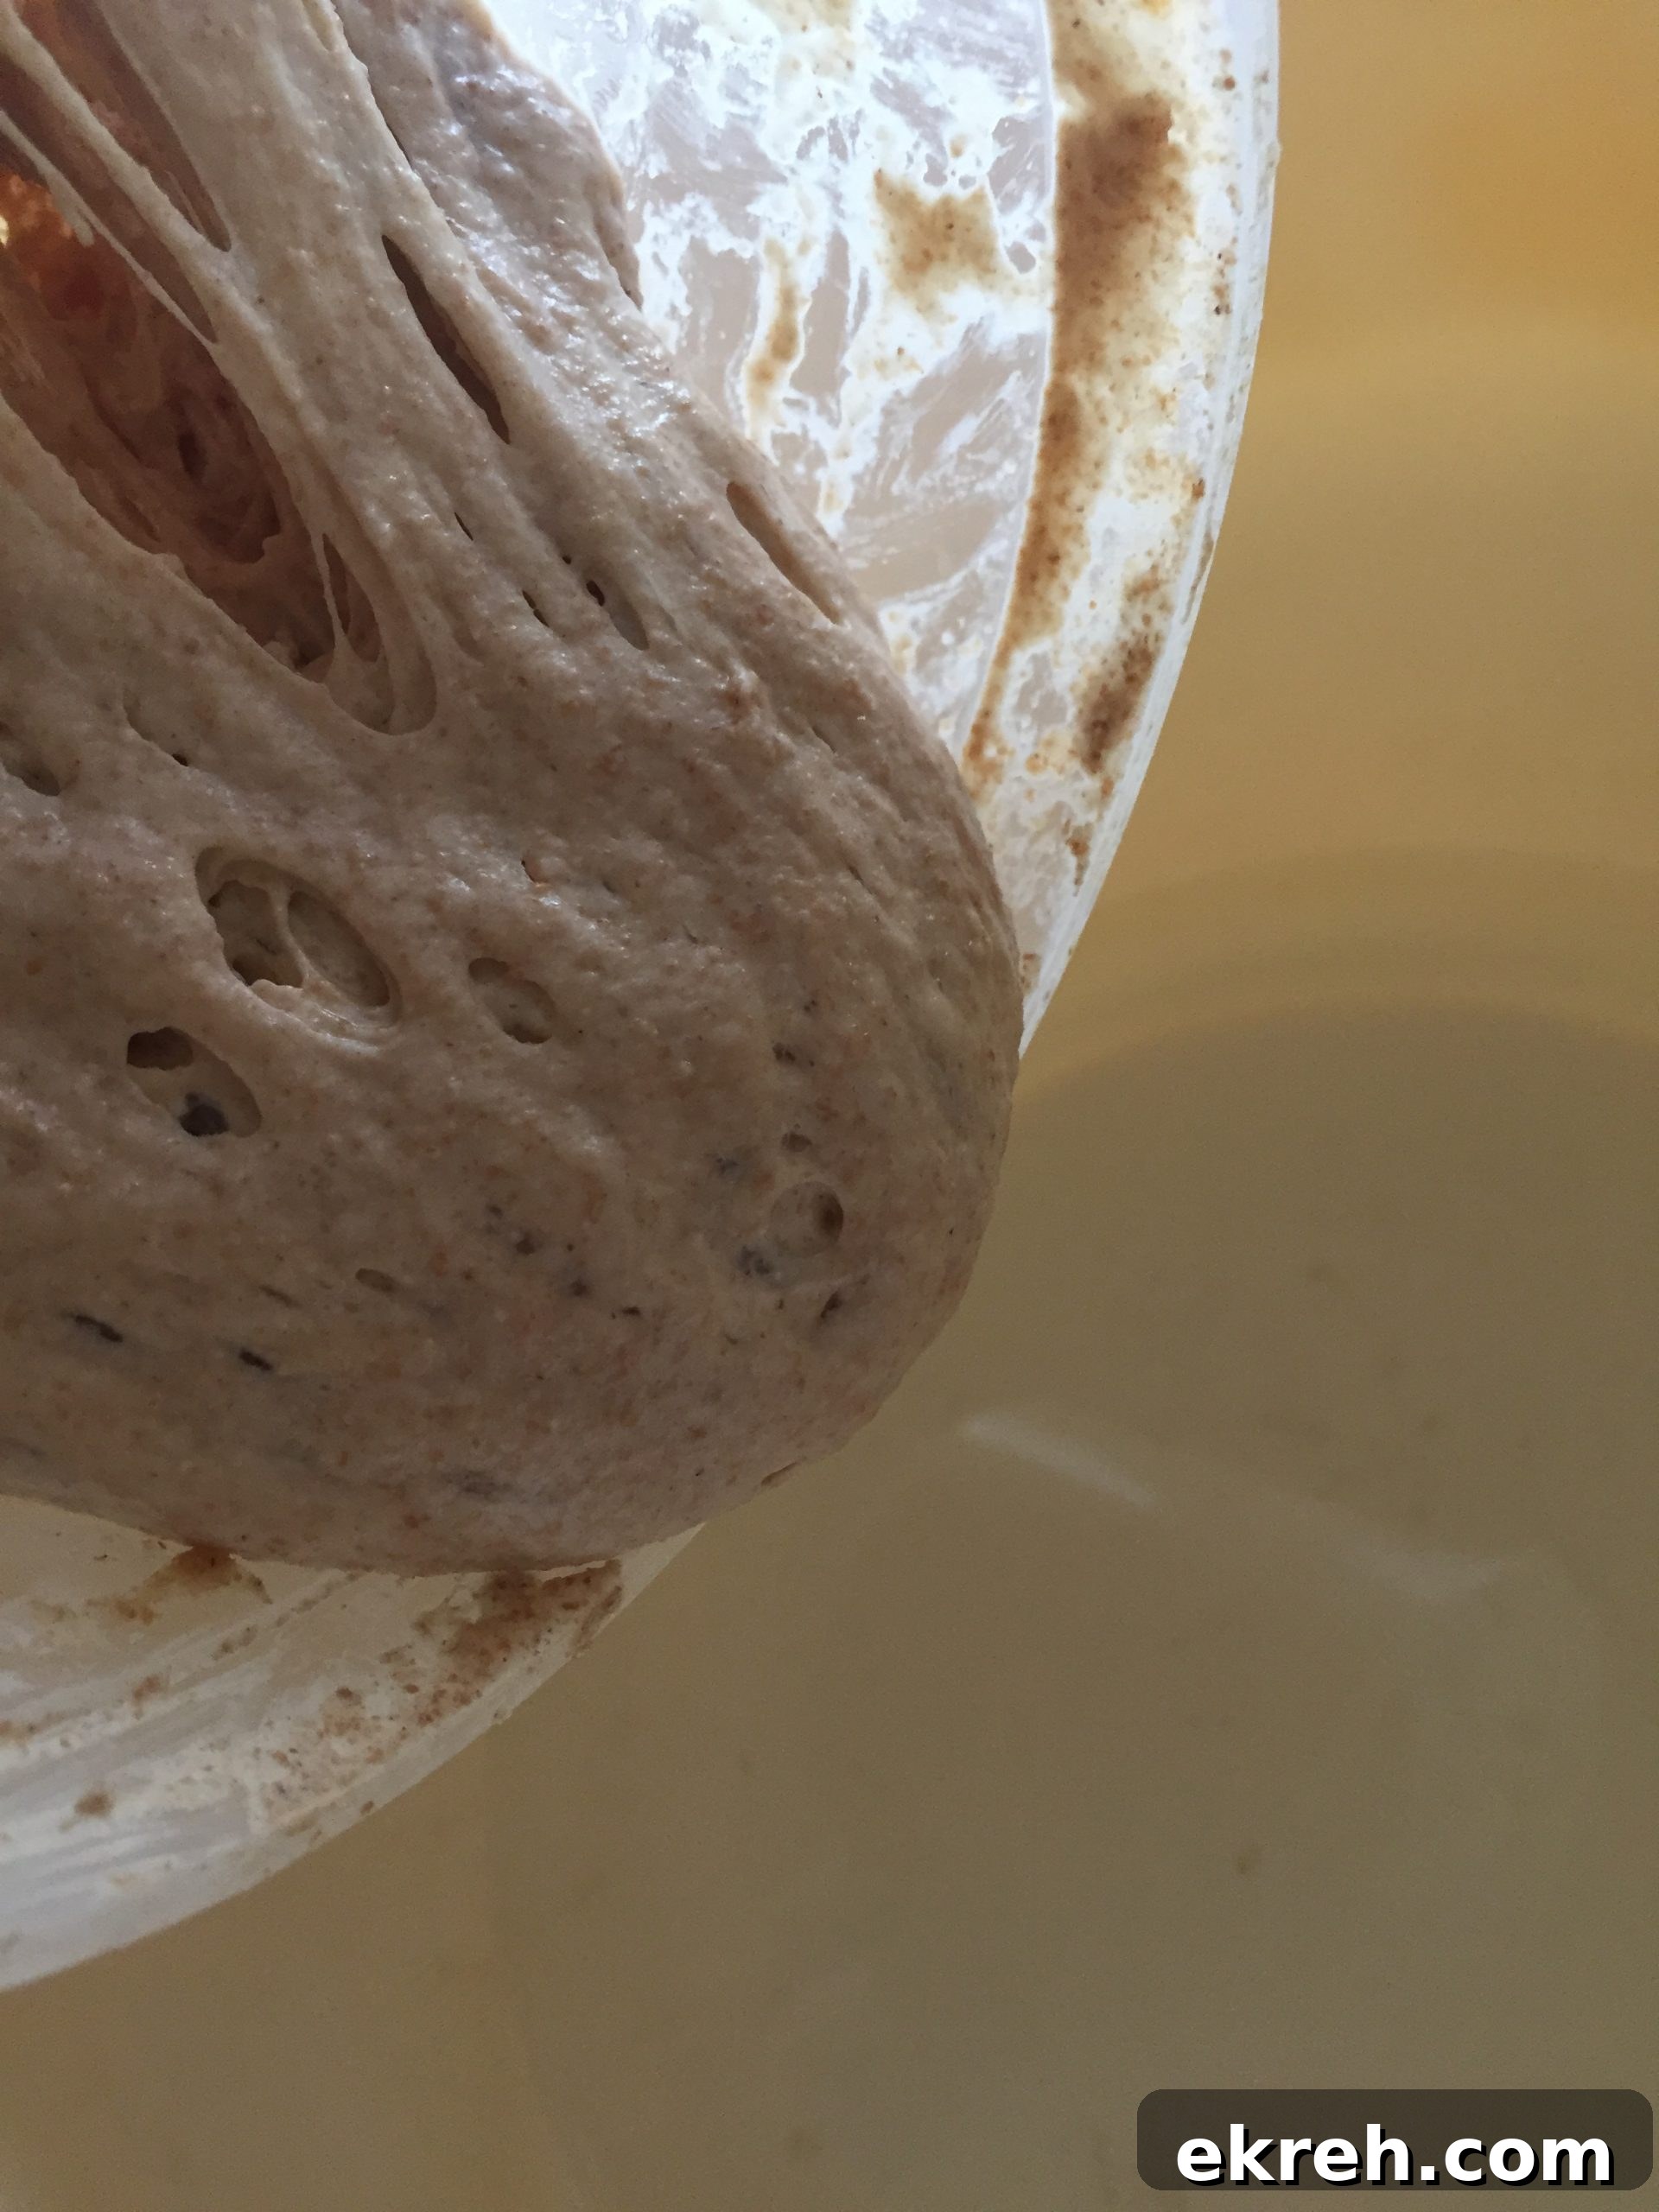
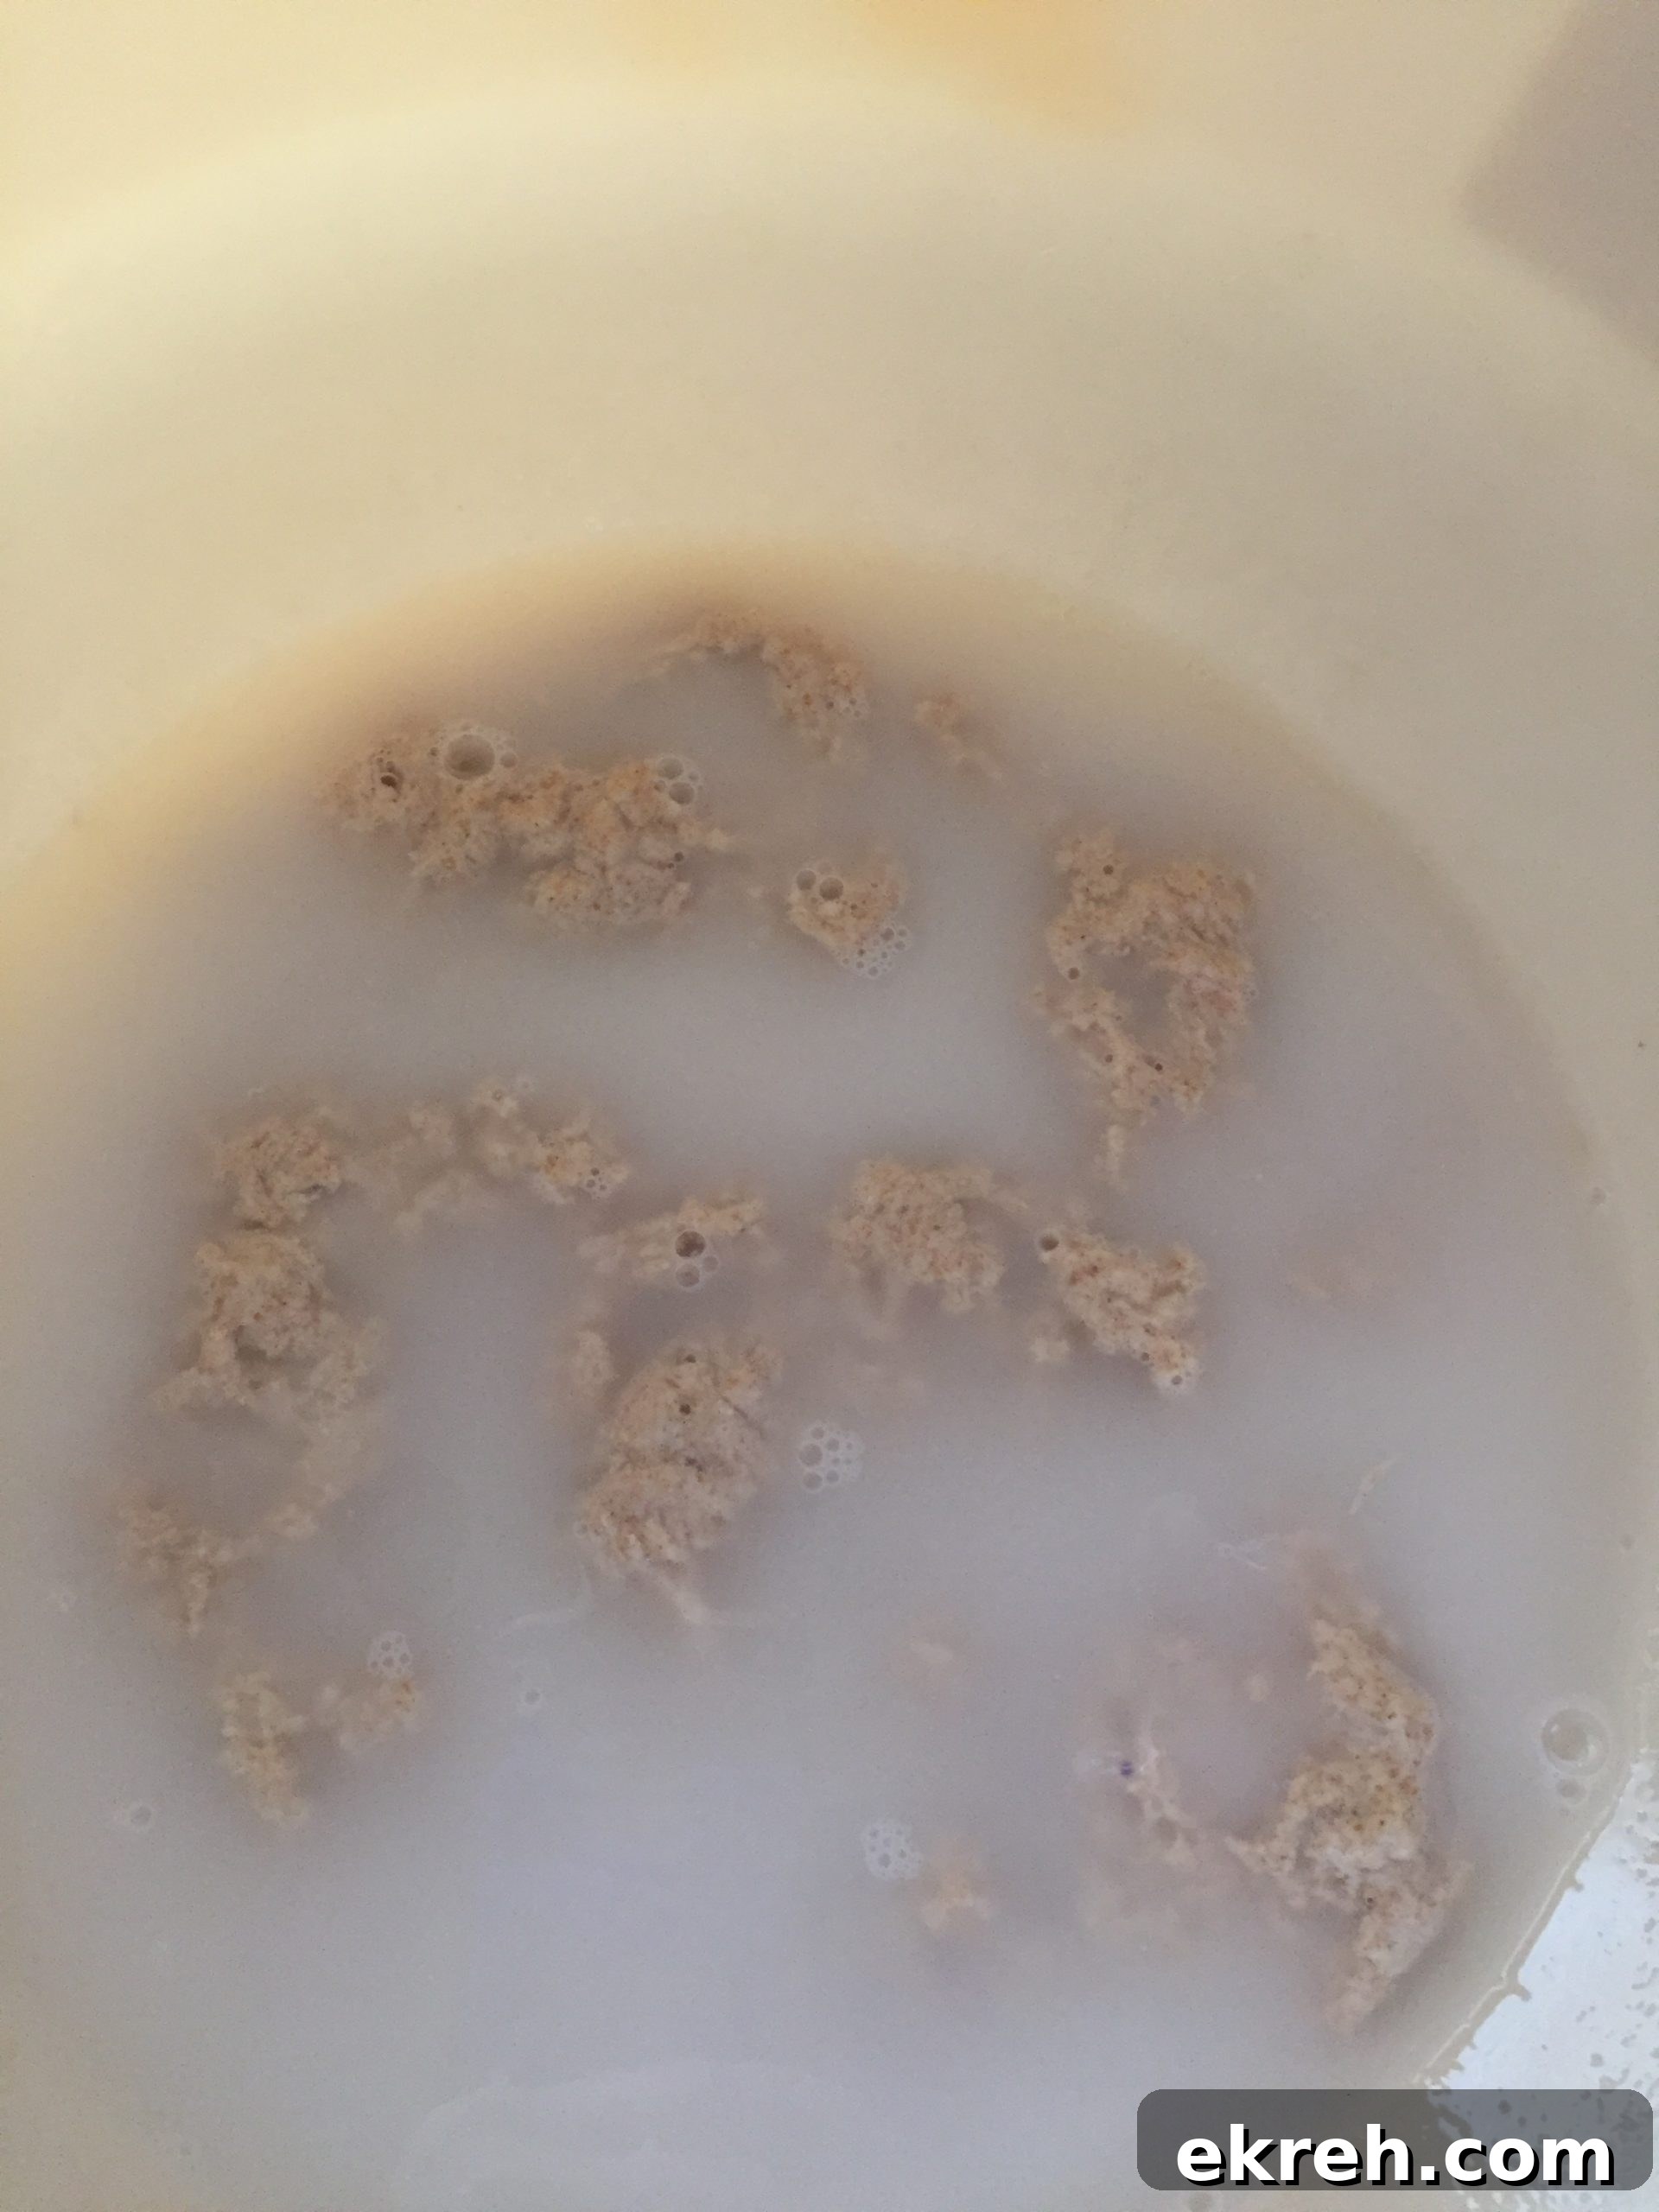
Mix the flour with the water and levain by hand until just combined, then let the dough rest for 30–45 minutes. This autolyse period allows the flour to fully hydrate and improves dough extensibility and gluten development.
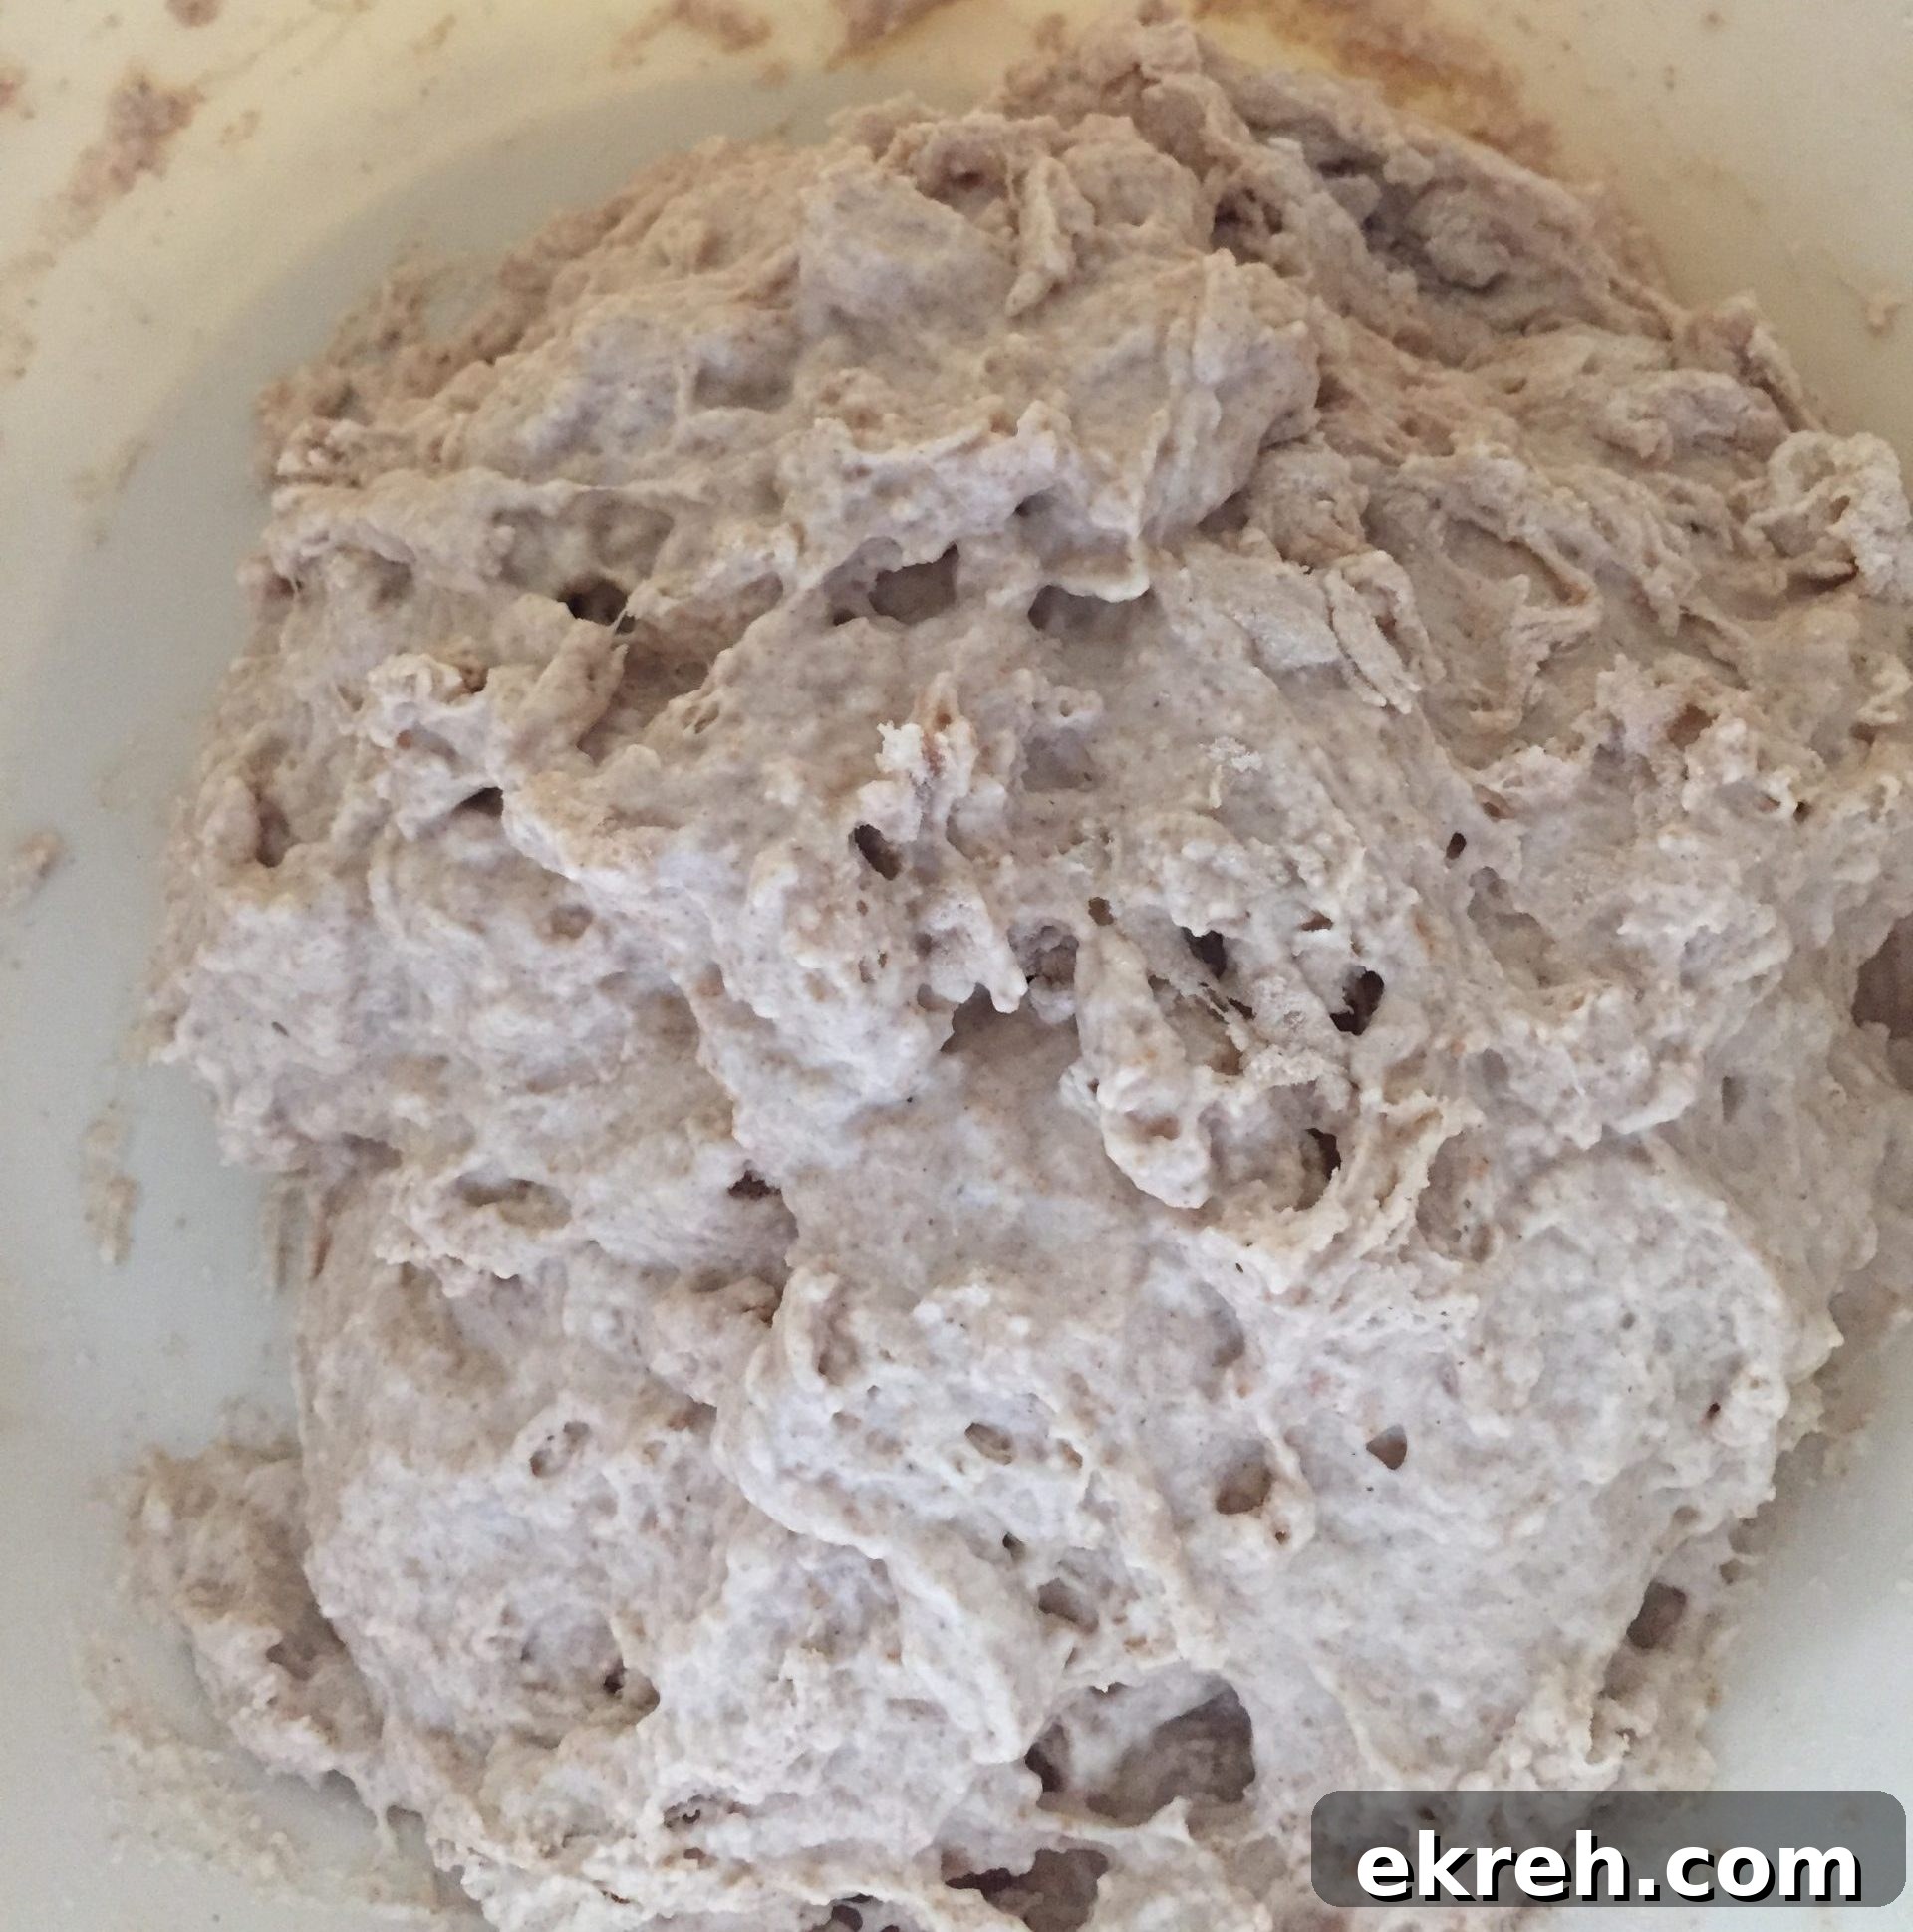
Pre-autolysed dough
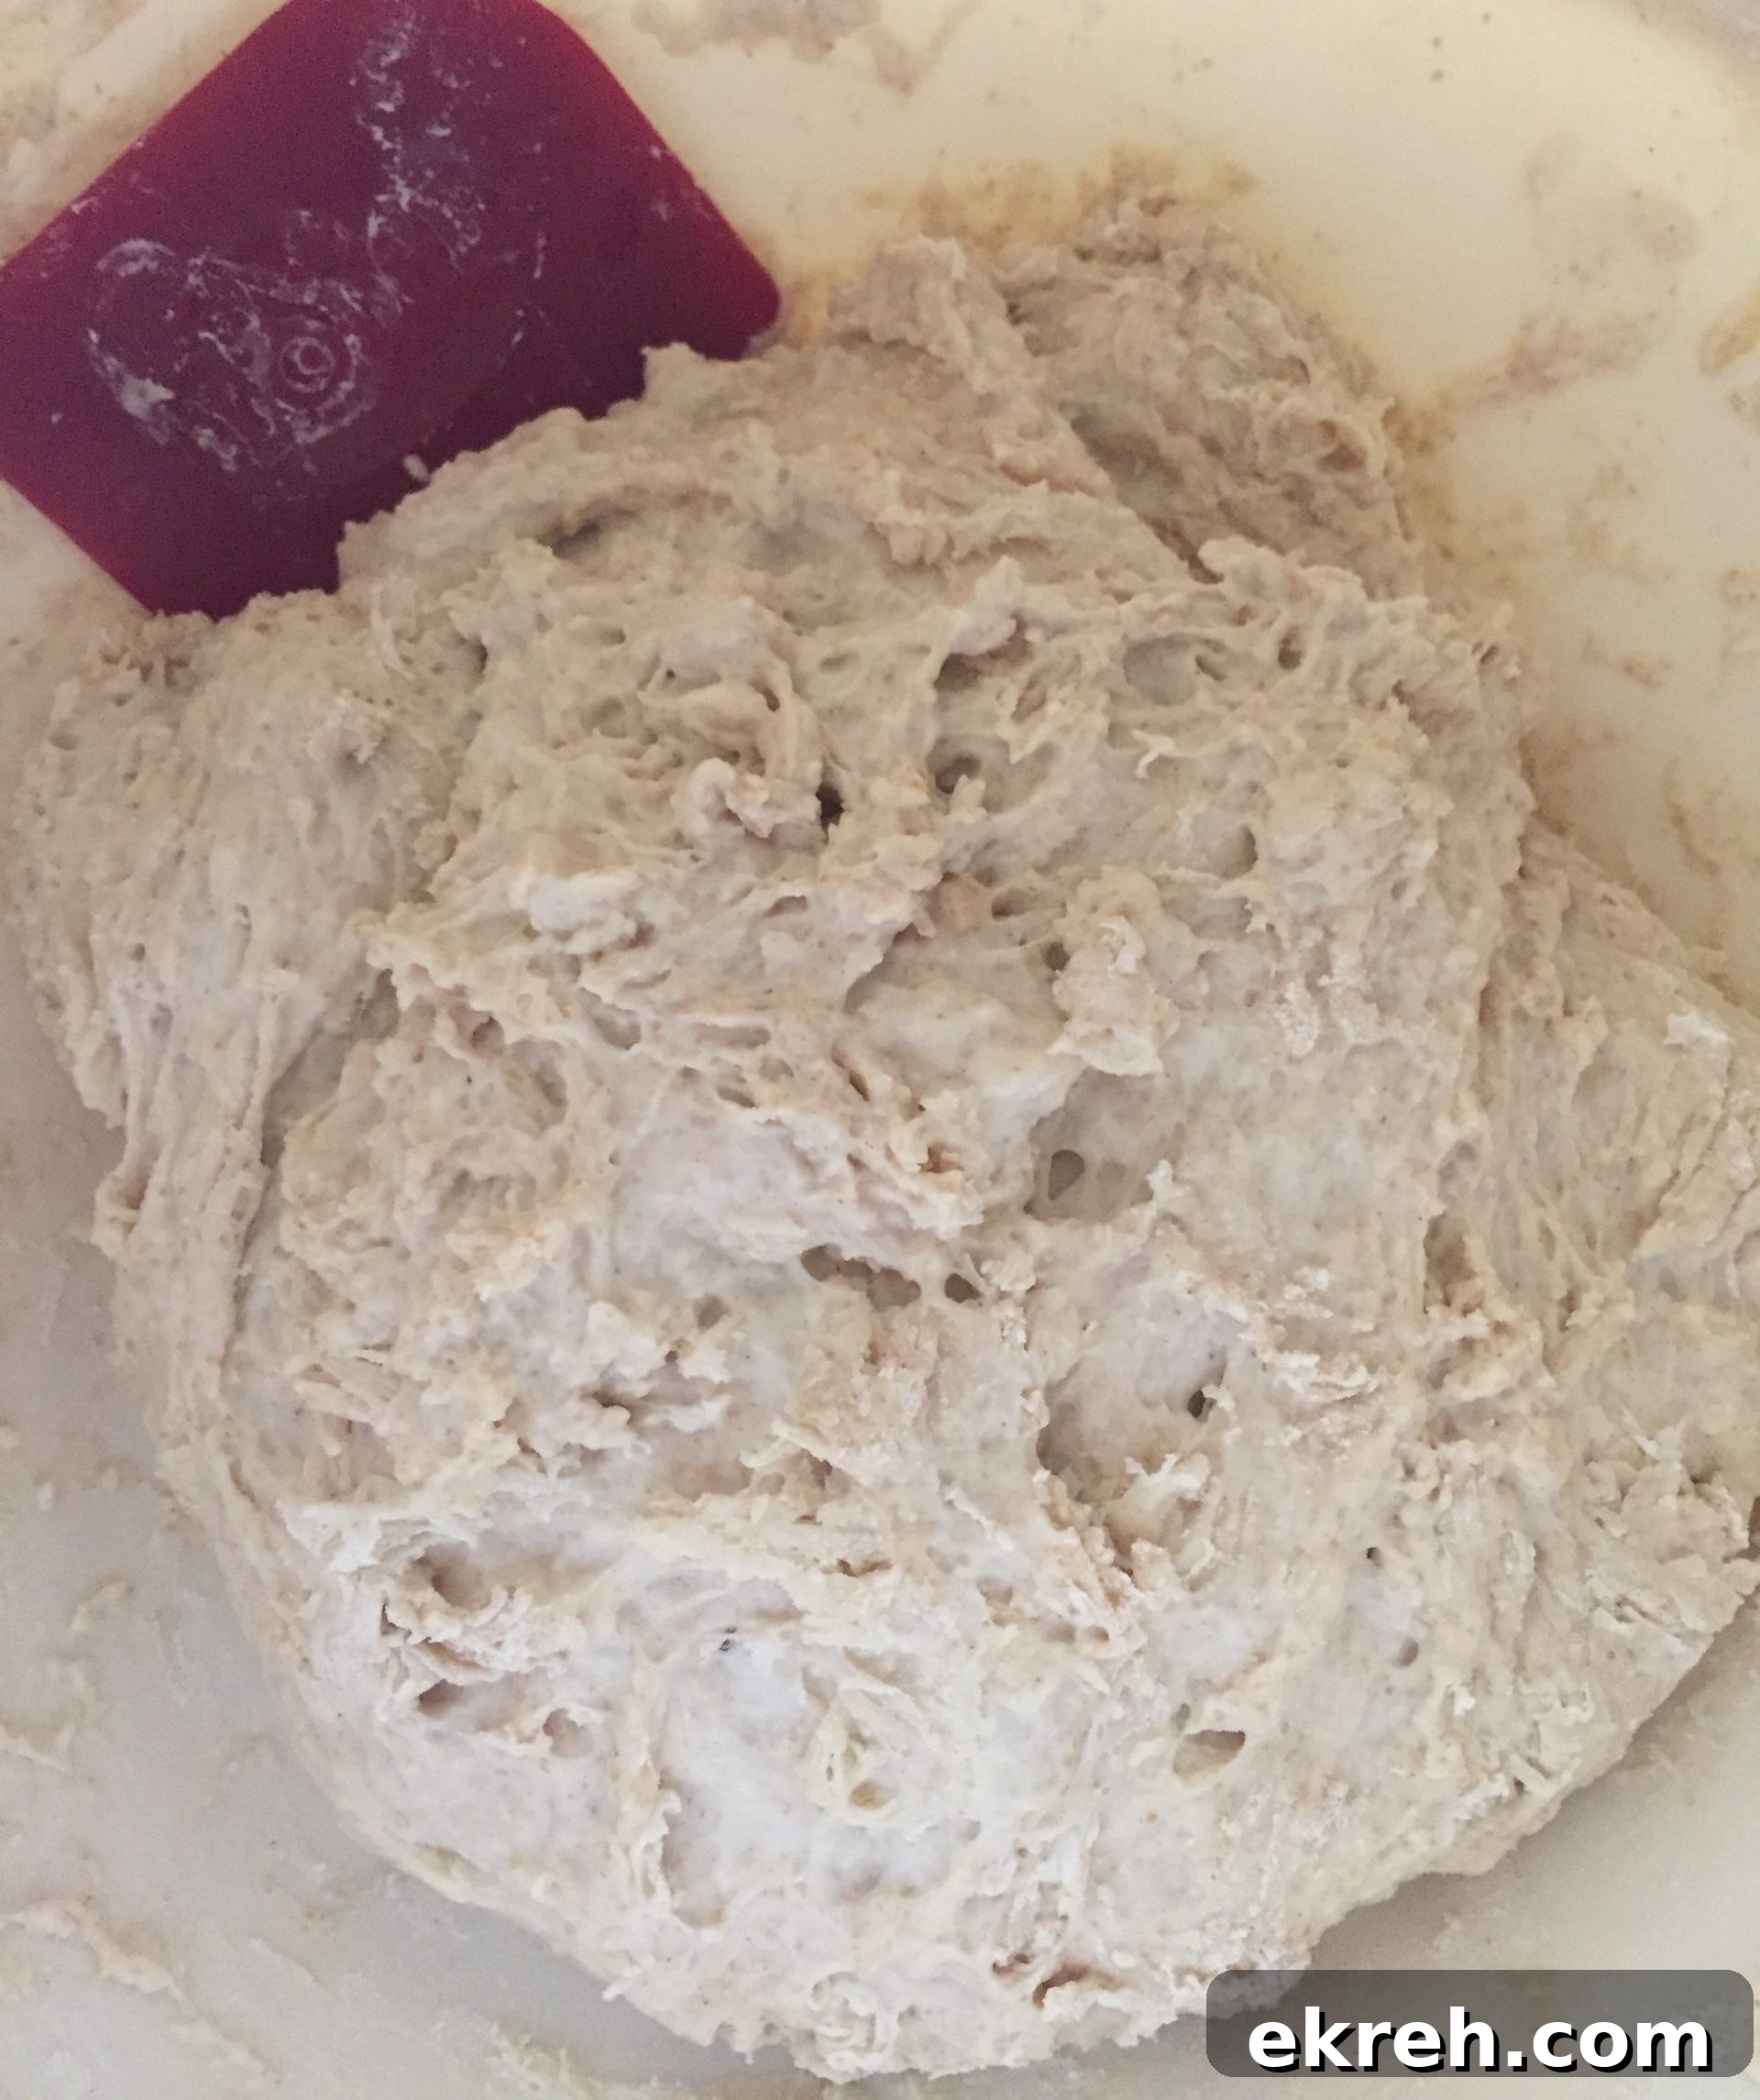
Post-autolyse dough
Salt and the chia mixture
Add salt to the hydrated chia seeds just before incorporating them into the dough. If salt contacts chia too soon it will draw water out of the gel, making the mixture too loose. The hydrated chia blend should be very firm—thick enough that a teaspoon can stand upright in it.
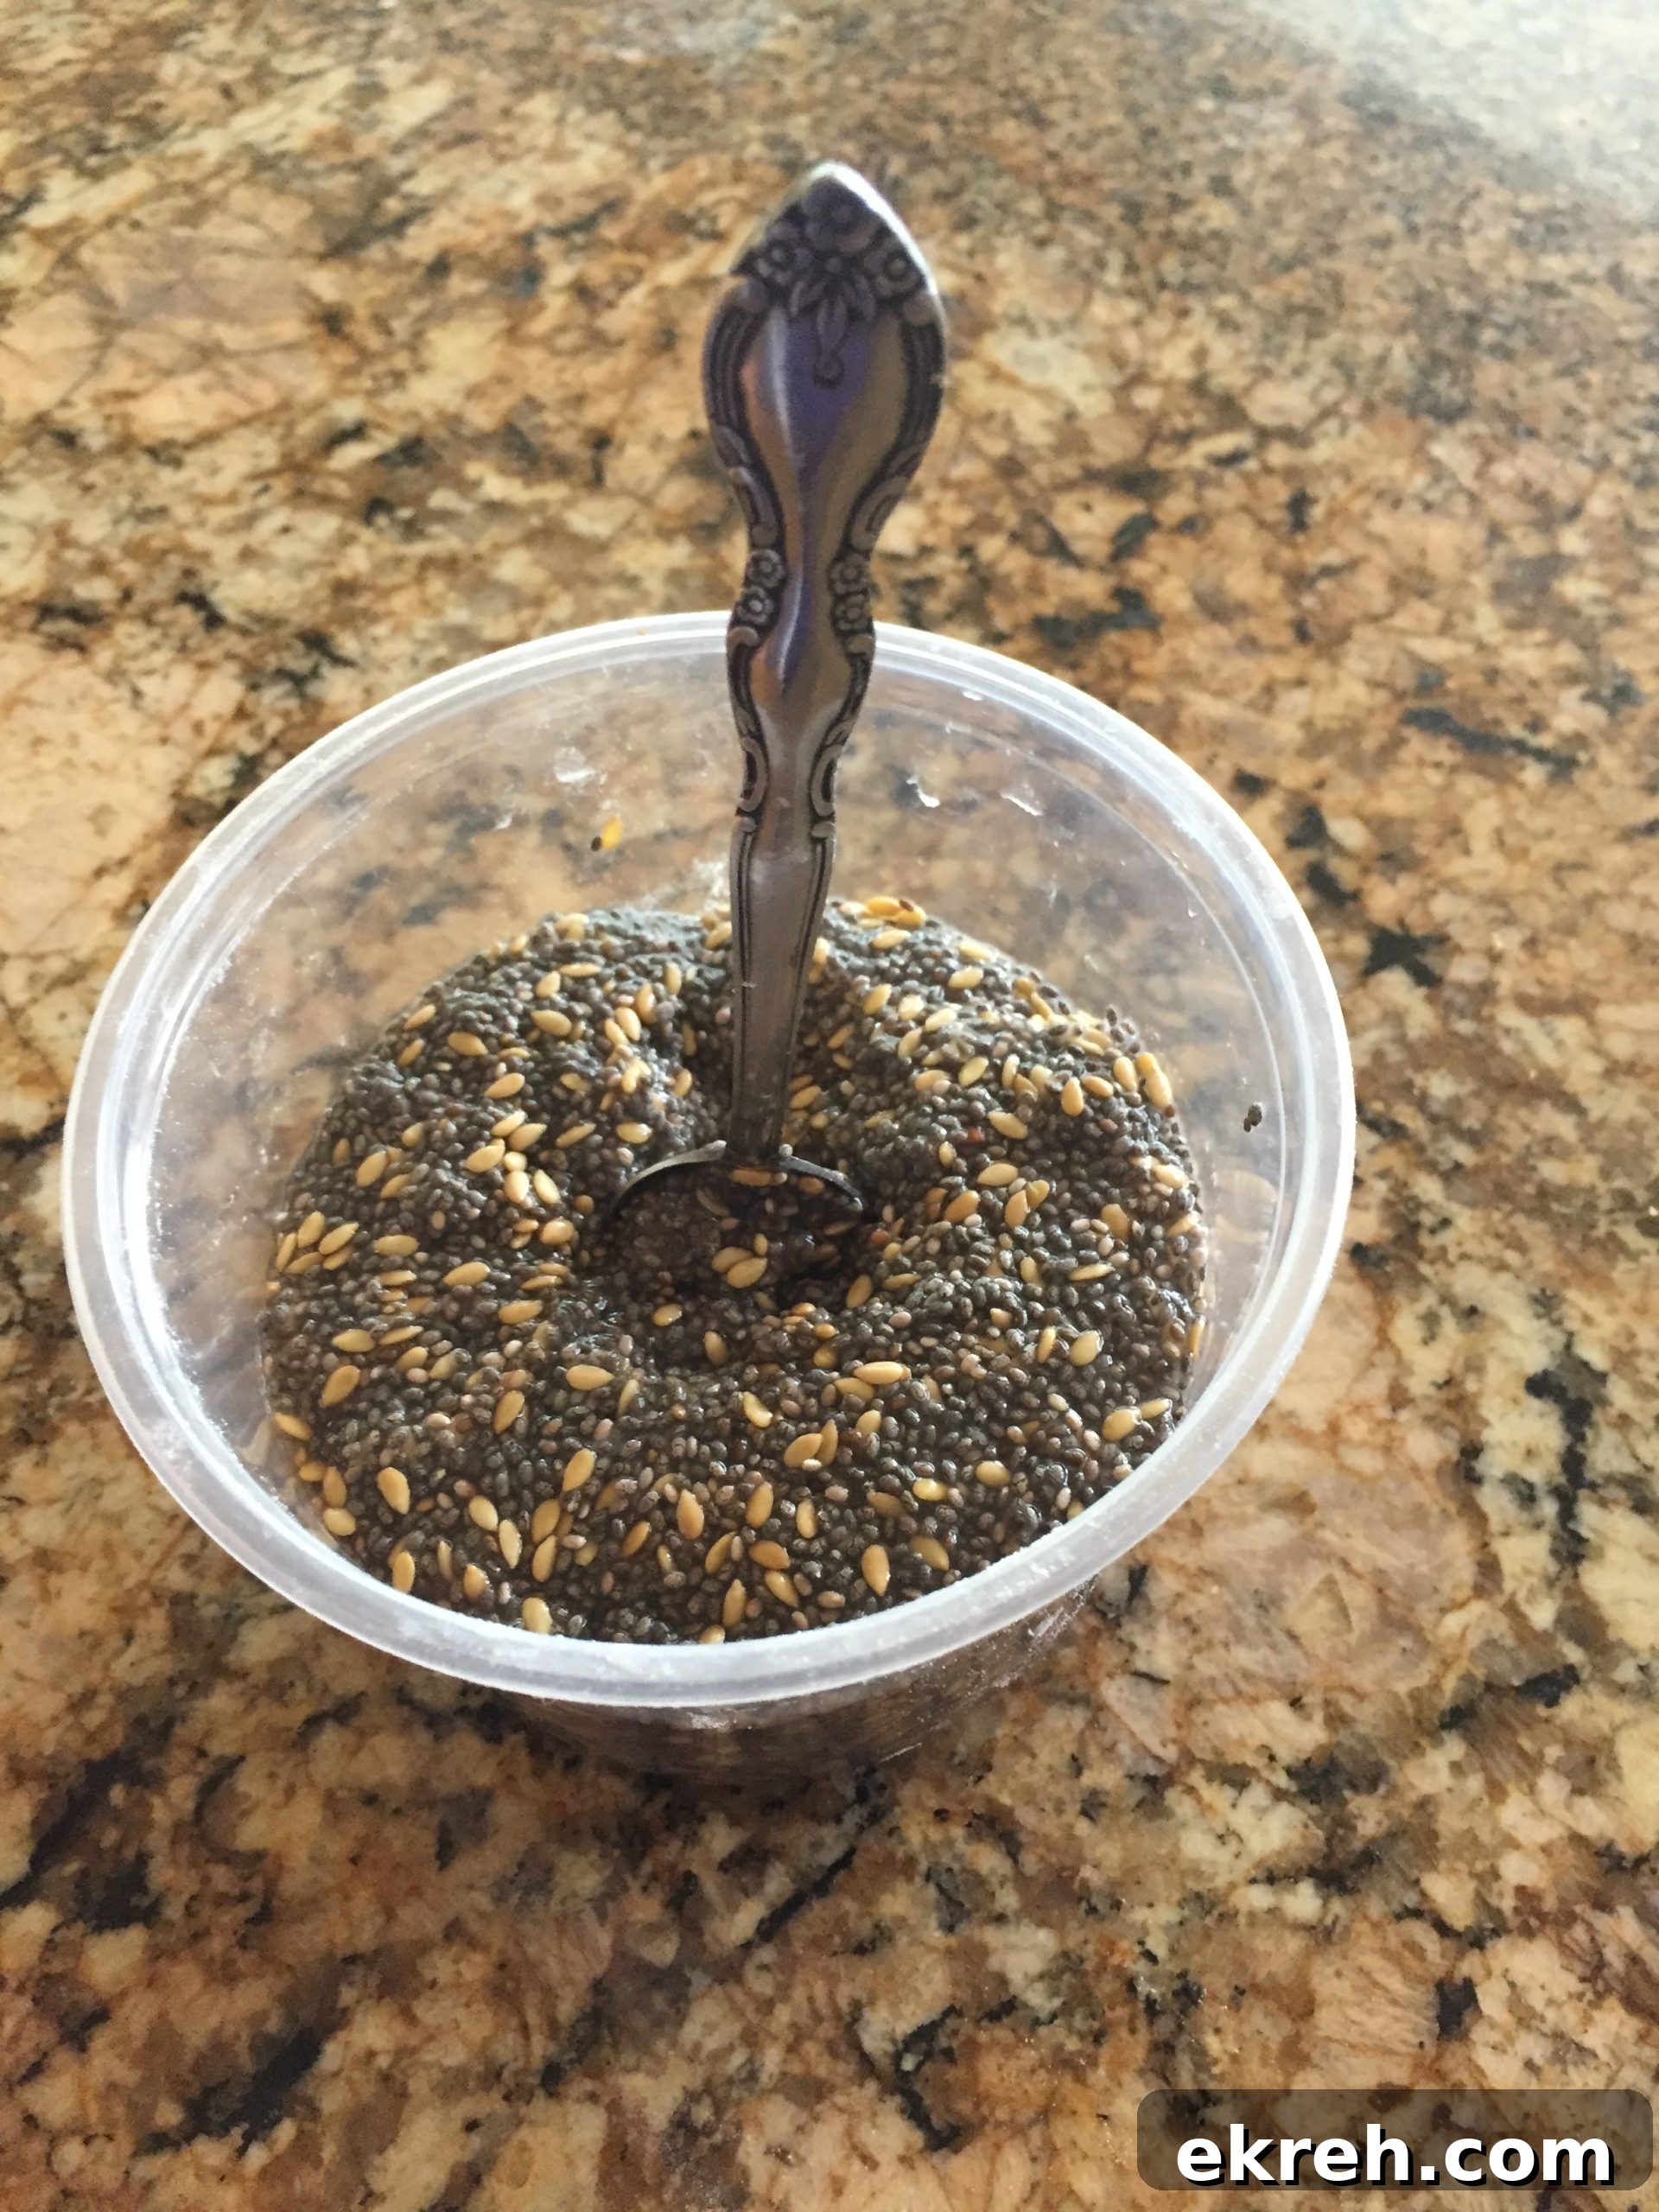
Hydrated chia seed mixture is very stiff.
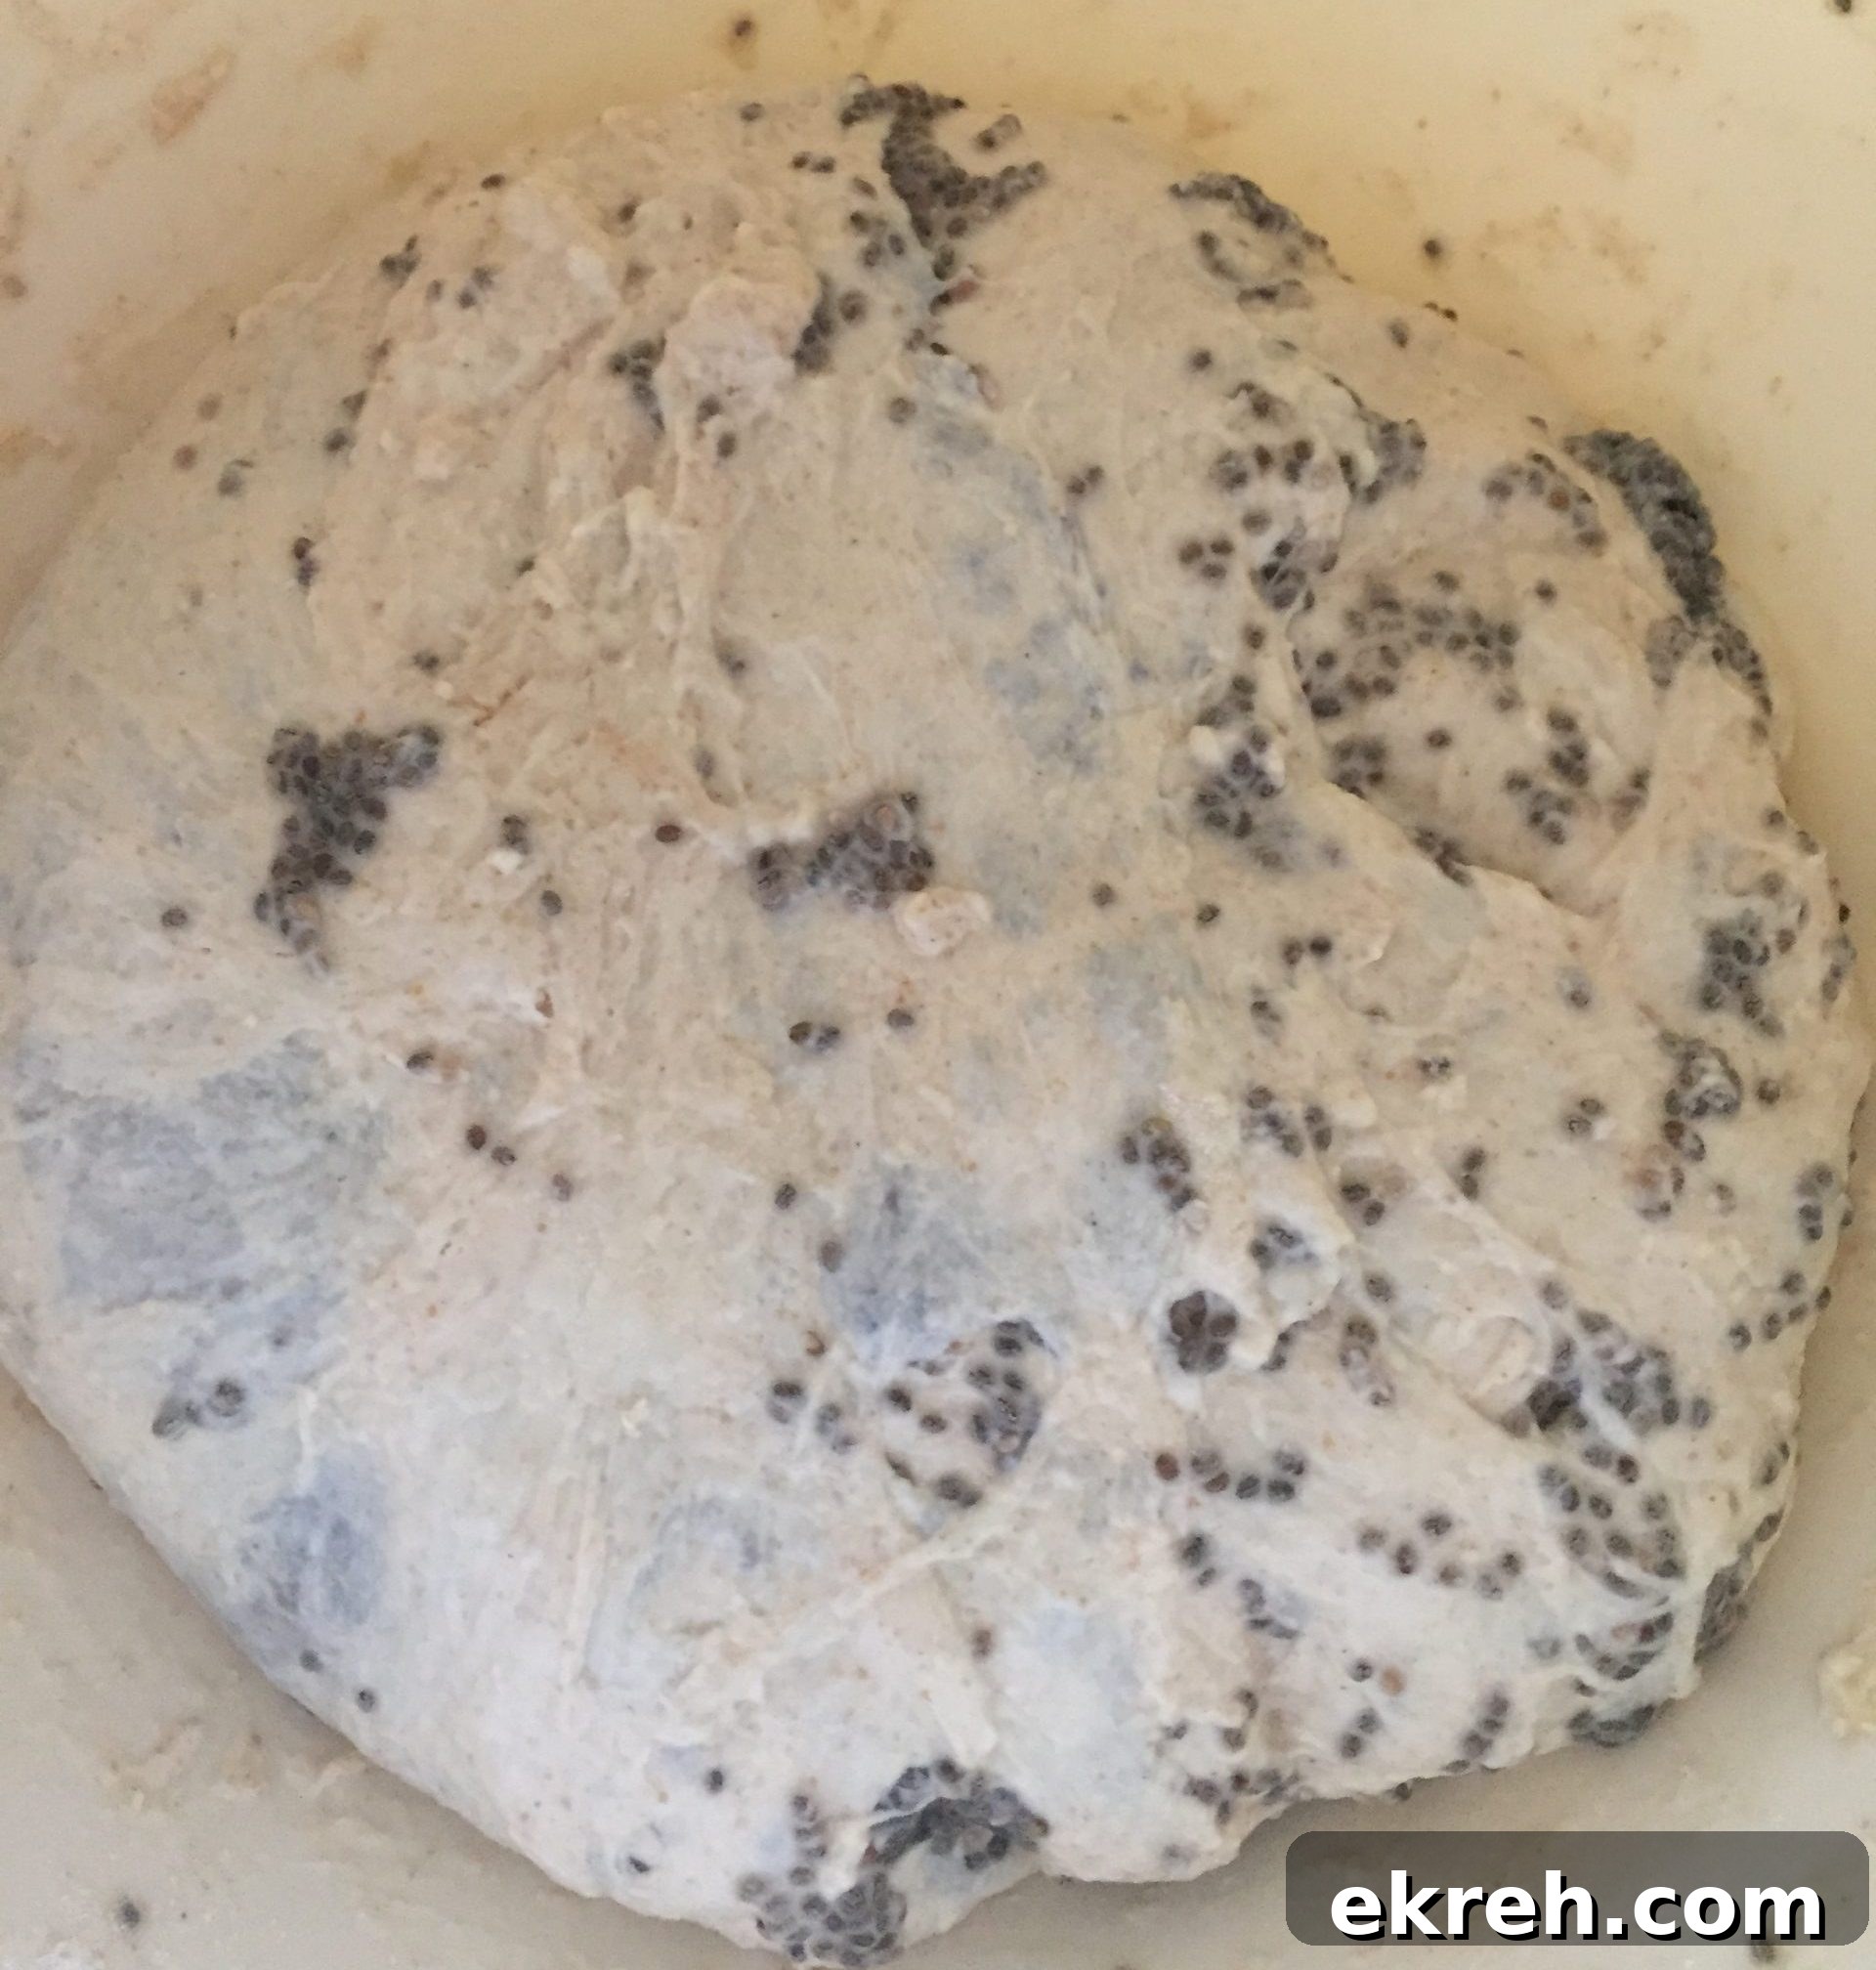
Chia seed dough immediately after adding the hydrated seeds
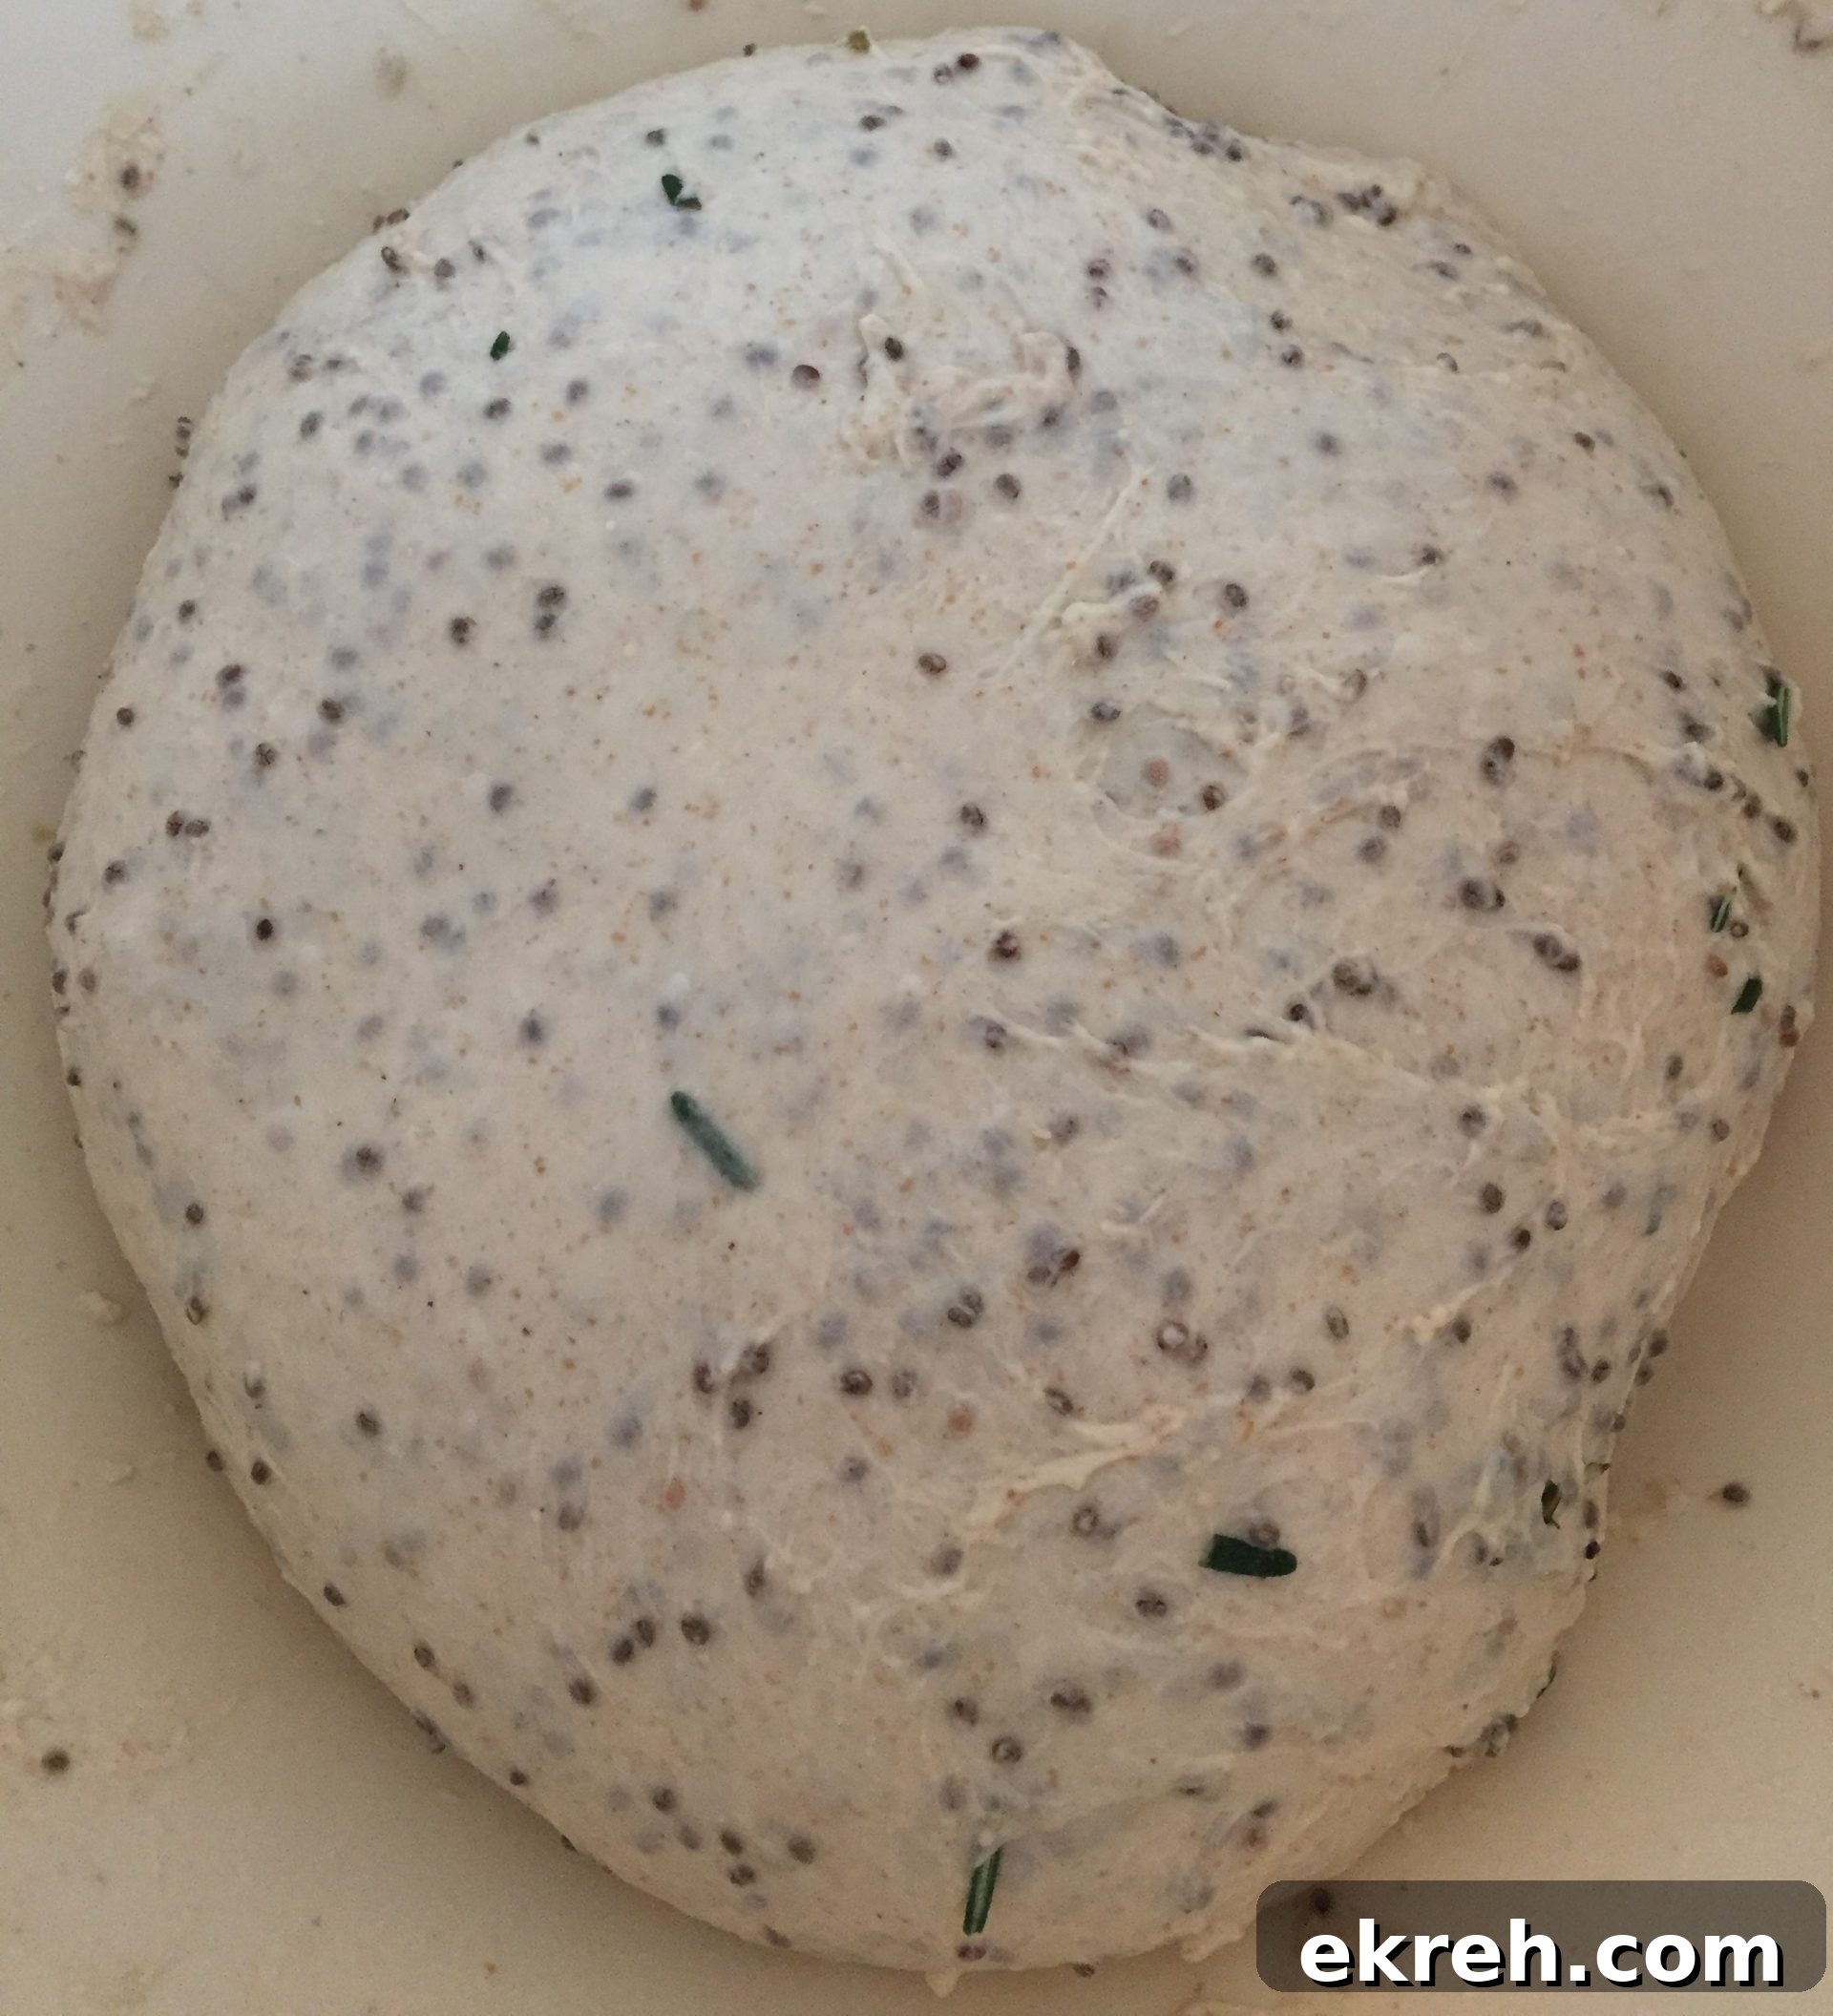
Chia seed dough after several kneading cycles; the seeds disperse throughout the dough.
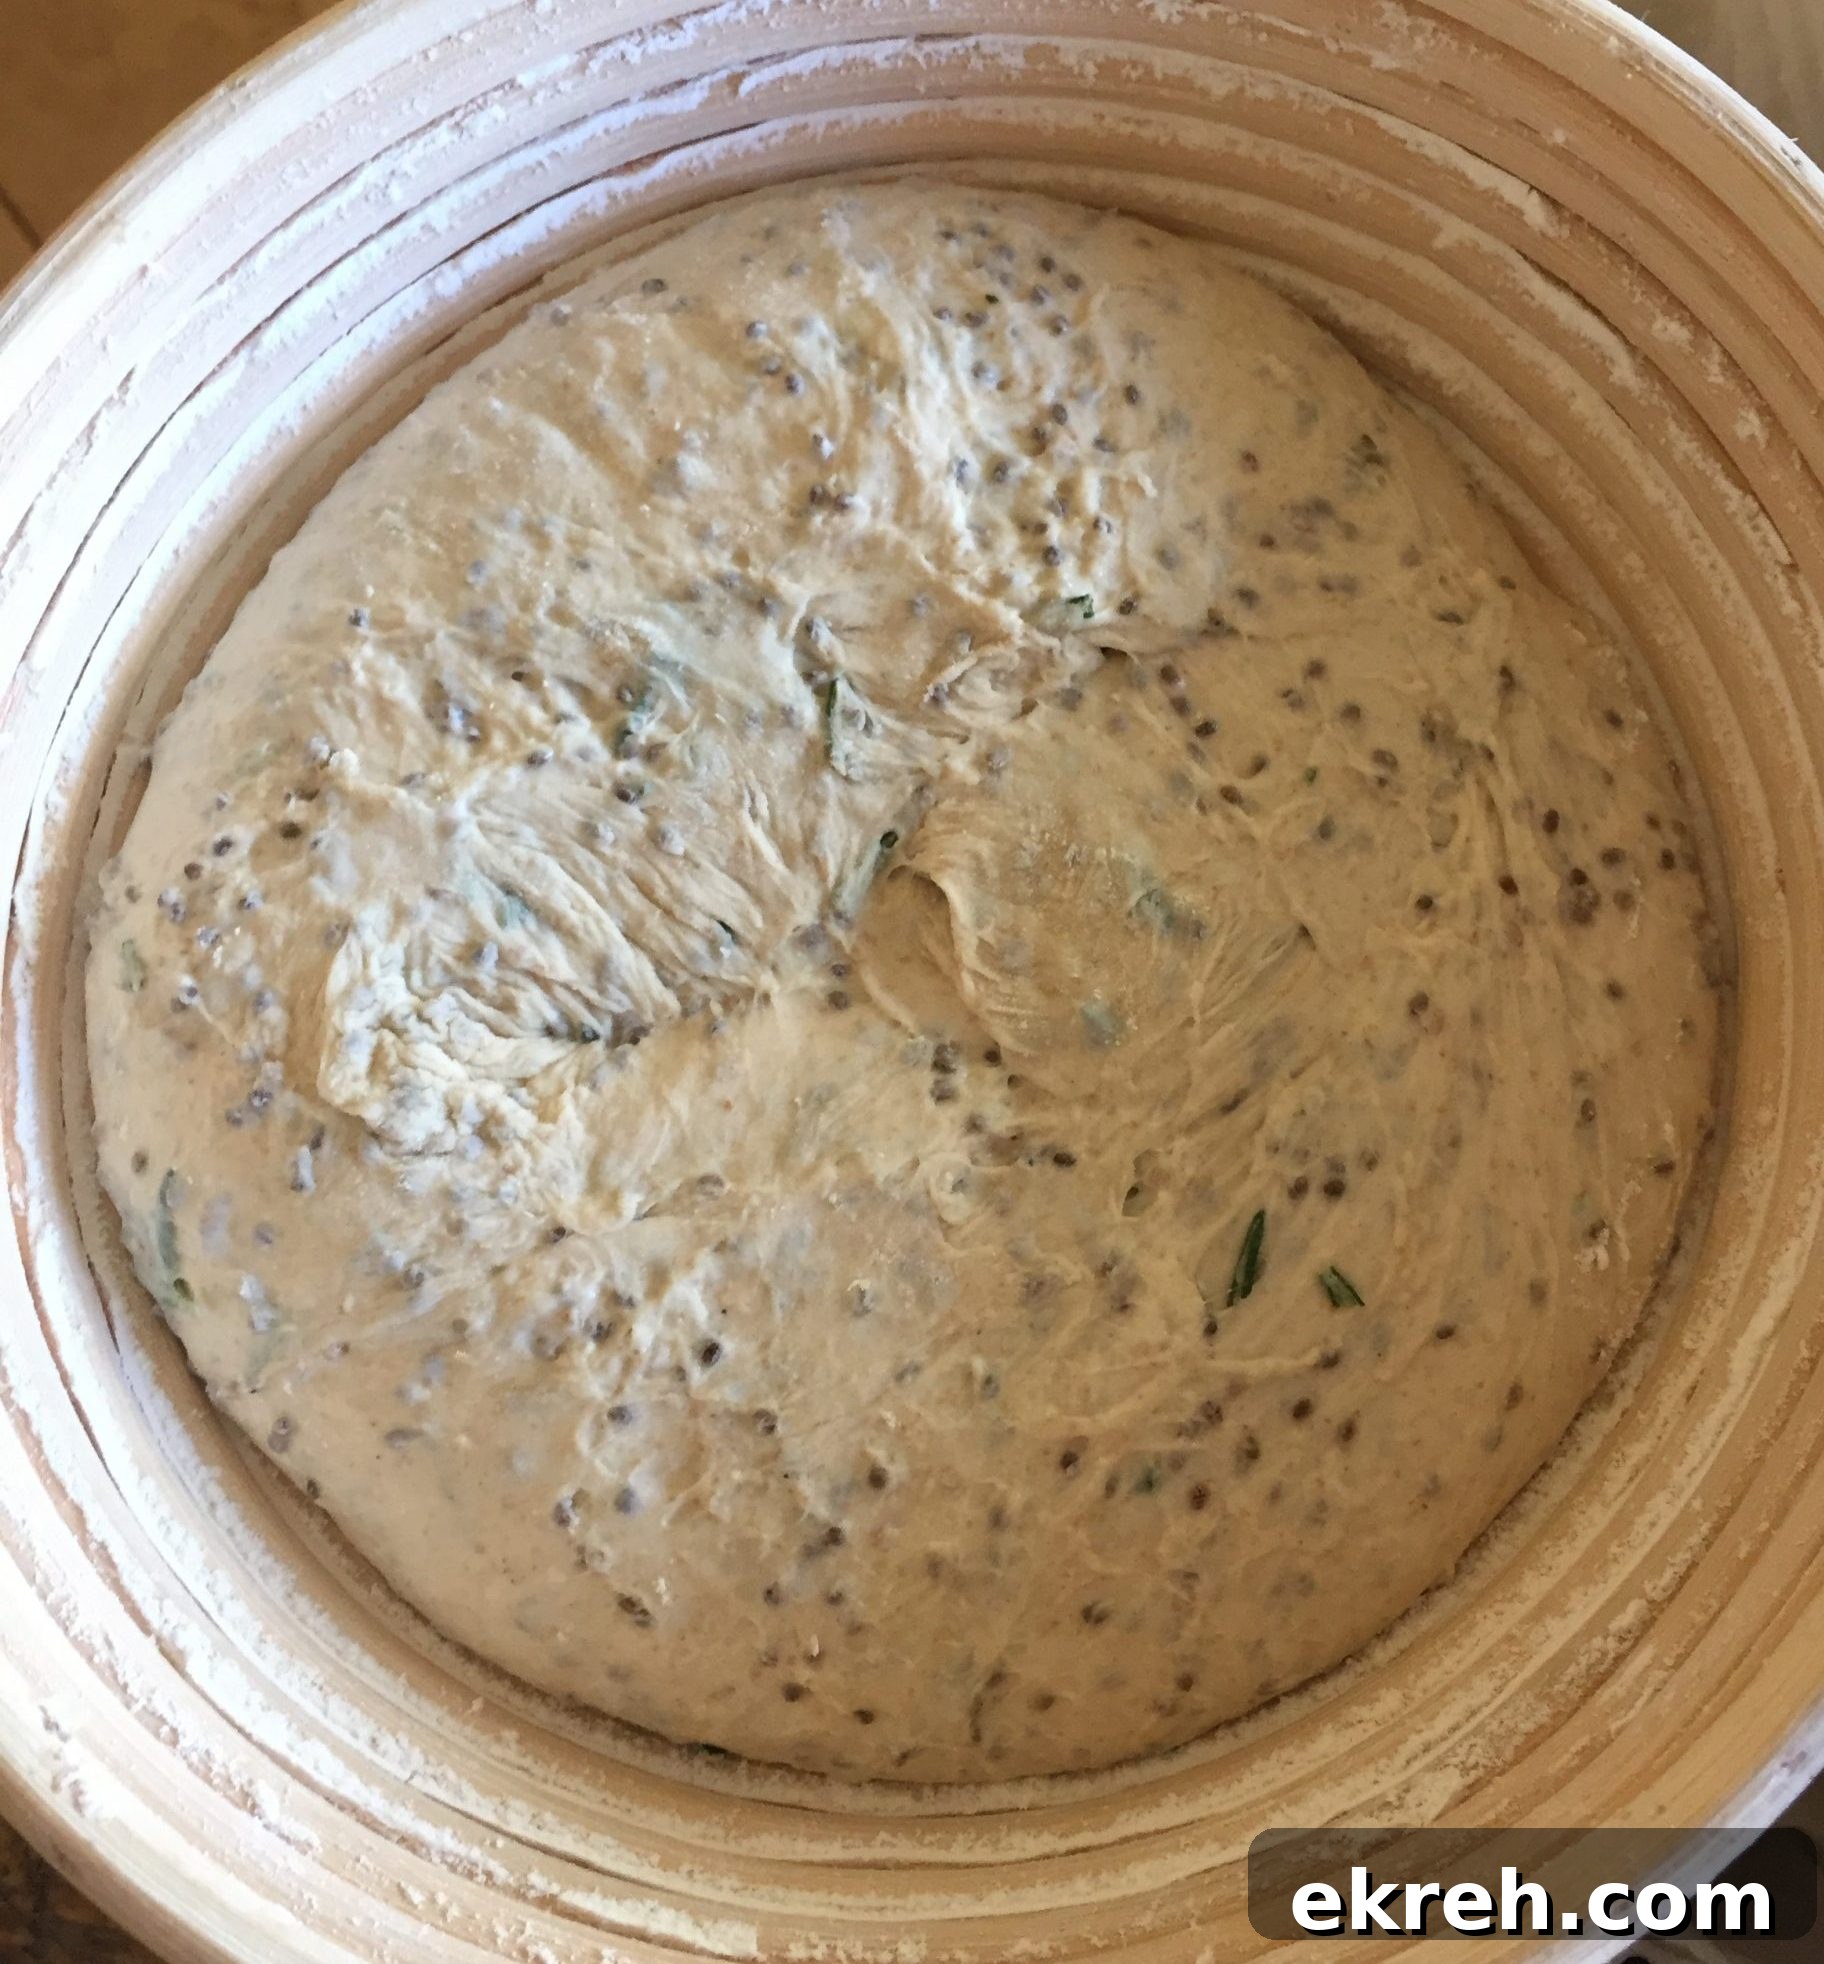
Dough proofing in a banneton
See the basic sourdough bread post for additional tips and troubleshooting. I’d love to hear how your loaf turned out—leave a comment to share your results.
CHIA SEED SOURDOUGH BREAD
Chia seed sourdough is moister and more nutritious than plain sourdough. When toasted, the seeds add a pleasant crunch. Try this recipe and enjoy a flavorful, hearty loaf packed with fiber and omega-3s.
Equipment
- Cast iron Dutch oven
- Banneton set for sourdough proofing
- 2 large bowls
- Bread lame, razor or scissors
- Dough scraper and cutter
- Digital scale
- Dish towel to cover dough
Ingredients
- 355 grams water (around 80°F / lukewarm)
- 100 grams levain (active starter)
- 400 grams bread flour
- 100 grams whole wheat flour
- 9 grams salt
- 20 grams chia seed
- 60 grams water (for soaking chia seeds)
- Rice / bread flour mixture (for dusting banneton)
Instructions
Prepare ingredients the night before
- Make your levain the night before so it is active and bubbly by bake time.
- Soak the chia seeds with boiling water, stir, and leave them to hydrate overnight.
Make the dough
- Sift the bread and whole wheat flours into a bowl to remove lumps.
- In a separate bowl, mix the levain into the lukewarm water until evenly distributed.
- Add the flour mixture to the levain-water and combine just until there is no dry flour.
- Allow the mixture to rest (autolyse) for 30 minutes to hydrate the flour fully.
- Add salt to the hydrated chia mixture; it should be very firm. Then incorporate this chia–salt mix into the autolysed dough.
Bulk fermentation and kneading
- Begin bulk fermentation at room temperature. At 70–80°F (21–27°C) expect about 3 hours for bulk fermentation, during which the dough will develop flavor and structure.
- With wet hands, perform stretch-and-folds: pull the top of the dough outward and fold it back, then rotate the dough a quarter turn. Repeat this cycle until you have completed four full revolutions (16 fold-stretches total).
- After folding, let the dough rest for 30 minutes. Repeat a few rounds of folding and resting as needed until the dough is soft and pliable. If the dough is still tight, continue bulk fermentation another 30–60 minutes.
Shaping
- Turn the dough out of the container and weigh it. This recipe yields one large loaf; divide into two smaller boules if desired and bake in two 2‑quart Dutch ovens.
- On a lightly floured surface, shape each portion into a round by pulling and rotating the dough to create surface tension. This helps remove large gas pockets formed during fermentation.
- Let the shaped dough rest for 10 minutes, then final-shape it for proofing.
- Prepare your banneton or proofing bowl by dusting generously with the rice/bread flour mix. Place the shaped loaf seam-side up in the banneton to rise.
Proofing — quick method
- Cover the loaves with a damp cloth and proof in a warm place (or in an oven with the light on) for about 2½ hours.
- When you are ready to bake, preheat the oven with your cast iron Dutch oven inside. Preheating typically takes 30 minutes and adds to the total proof time; avoid overproofing as that can reduce oven spring.
Proofing — slow (retarded) method
- Cover and proof at room temperature for about 1 hour, then transfer the covered banneton to the refrigerator in a sealed bag and proof overnight. Bake directly from the fridge.
Scoring and baking
- Carefully transfer the loaf to the preheated Dutch oven: place a piece of parchment over the banneton, invert it over the pot, and gently lower the dough in. If you use a shallow skillet and pot method, follow your preferred transfer technique.
- Dust the top lightly with flour and score the loaf with a razor, bread lame, or sharp scissors to allow controlled expansion and to give the loaf a decorative pattern. Replace the lid.
- Reduce oven temperature to 450°F (232°C). Bake covered for 25 minutes (about 20 minutes for smaller 2‑quart boules).
- Remove the lid and continue baking another 25 minutes for a large loaf (about 20 minutes for small boules) until the crust is deeply browned and the internal temperature is around 200–210°F (93–99°C).
- Remove the loaf from the oven and transfer it to a wire rack to cool completely before slicing.
- If baking a second loaf, return the empty Dutch oven to 500°F to reheat for about 10 minutes, wipe it dry, and proceed with baking the second loaf.
Notes
Makes 1 large loaf that fits a 3.3-quart (24 cm) Dutch oven. For two smaller loaves, divide the dough and adjust baking times as noted above.
Nutrition
Let me know how it turned out or ask questions in the comments section.