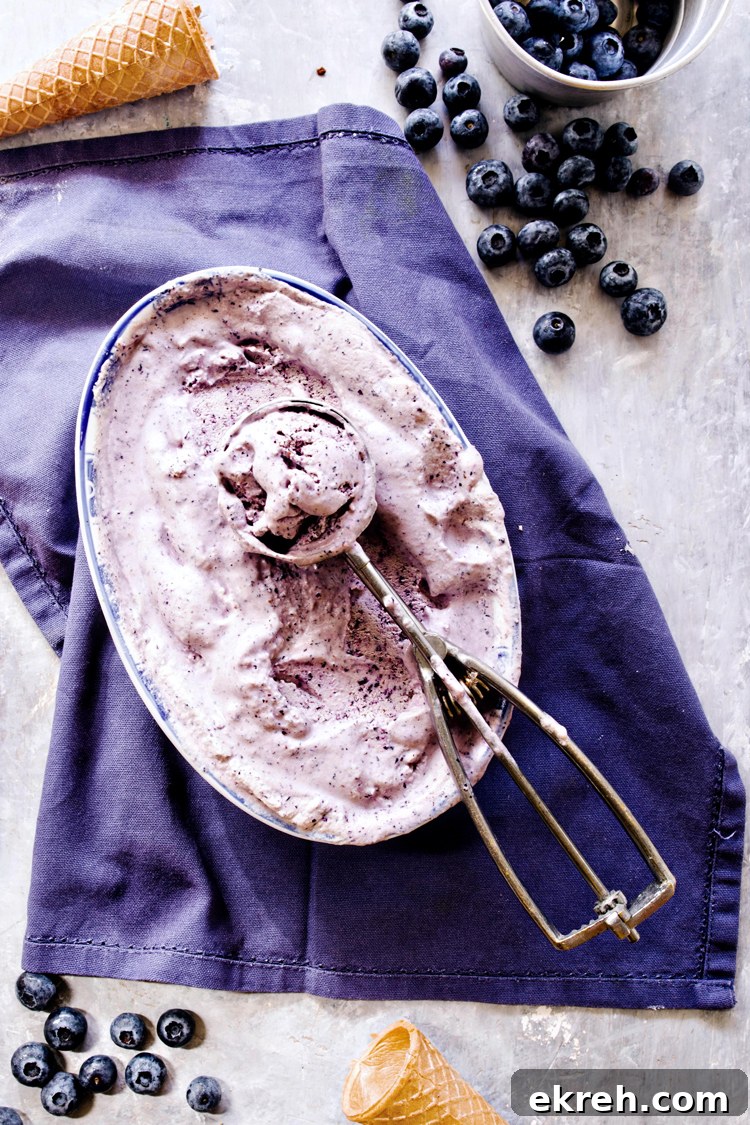
This Blueberry Cheesecake Ice Cream captures all the classic flavors of cheesecake in frozen form: a creamy, tangy cheesecake base swirled with a bright blueberry sauce and finished with optional crunchy graham cracker crumbs. This is a no-churn recipe, so no ice cream maker is required—perfect for warm days when you want a quick, homemade treat.
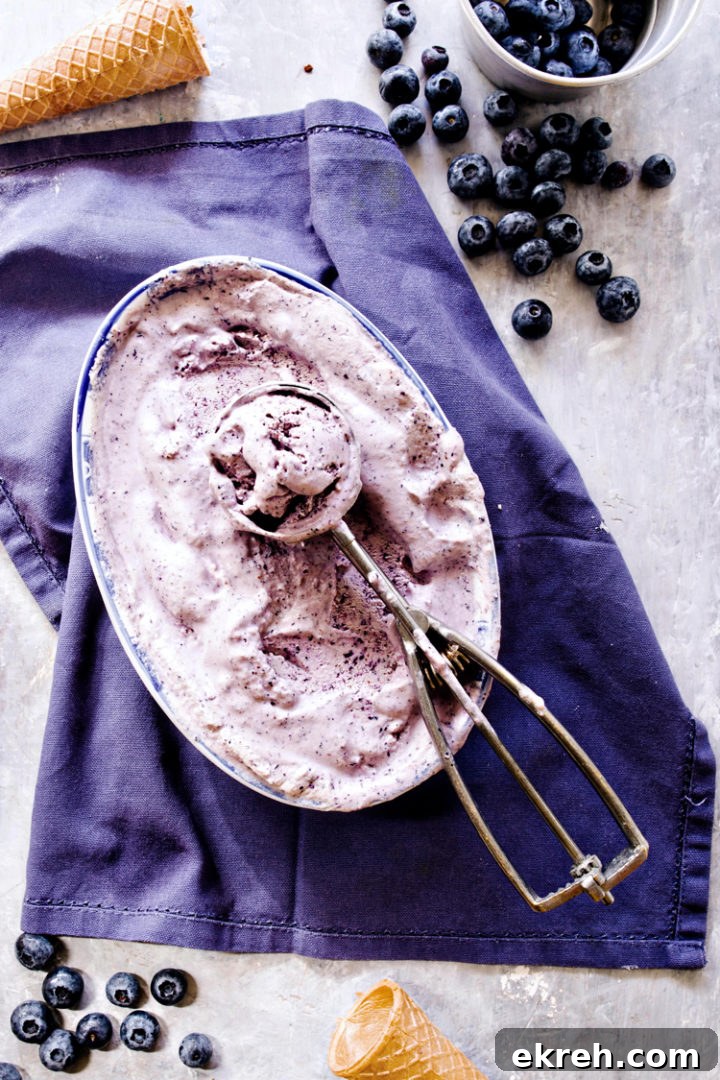
Creating This Blueberry Cheesecake Ice Cream Recipe
I get genuinely excited about homemade ice cream—especially when it’s quick and fuss-free. This version avoids a cooked custard and the long cooling step, so you don’t have to babysit a pot or wait for hours to freeze. It’s rich, tangy from the cream cheese, and beautifully balanced by the sweet-tart blueberry swirl.
Some people like to fold in small chunks of cream cheese or pieces of real cheesecake for extra texture; that’s an optional flourish if you want to experiment next time.
What I Love About this Creamy Blueberry Cheesecake Ice Cream
Three reasons this is one of my favorite summer ice creams:
- The juicy sweetness of the blueberries pairs perfectly with the tangy cream cheese base.
- It’s a great way to use fresh or frozen blueberries when they’re plentiful.
- The recipe is easy to make and doesn’t require an ice cream machine.
Tools Used to Prepare this Ice Cream
- Hand mixer or stand mixer – for whipping the cream and smoothing the cream cheese base.
- Ice cream maker – optional, if you have one it will shorten churning time; instructions for no-churn are included below.
- Ice cream scoop – helps produce neat servings; warming the scoop under hot water makes scooping easier.
- Freezer-safe container – for storing the ice cream while it firms up.
Ingredients in Blueberry Cheesecake Ice Cream
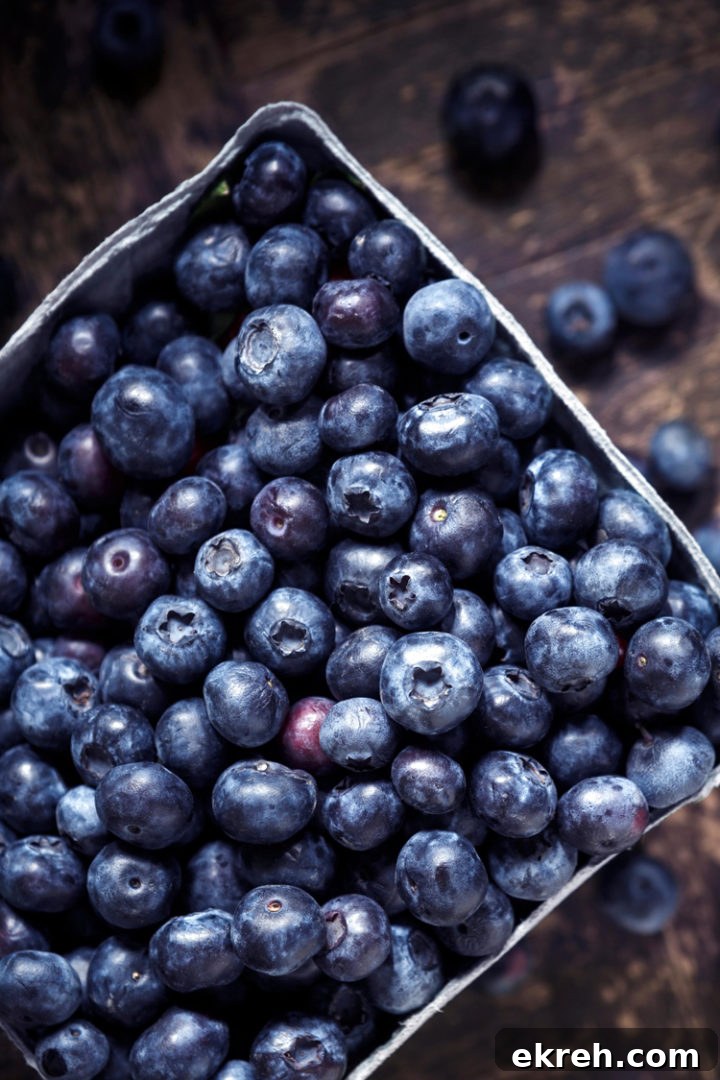
- 1 1/2 cups blueberries (fresh or frozen)
- 1/4 cup granulated sugar
- 1 teaspoon cornstarch
- 6 ounces full-fat cream cheese, room temperature
- 1/2 cup demerara sugar (or brown sugar)
- 2 cups heavy whipping cream, chilled
- 2 teaspoons vanilla extract
- 1 teaspoon lemon juice
- Graham cracker pieces, optional for garnish and texture
If you only have frozen blueberries, they work fine straight from the bag—no need to thaw before making the sauce.
How to Make Homemade Blueberry Cheesecake Ice Cream
Making the Blueberry Sauce
- Combine the blueberries and sugar in a small saucepan over medium-high heat. Cook until the berries burst and release their juices, about 5–10 minutes.
- Stir in the cornstarch and cook for an additional 1–2 minutes to thicken the sauce.
- Remove from heat, transfer to a heatproof bowl, and chill in the freezer until cooled. For a smooth sauce, puree the mixture briefly in a blender or food processor; otherwise leave it slightly chunky for texture.
Making the Cheesecake Ice Cream Base
- Beat the cream cheese and demerara sugar in a large bowl until smooth.
- Add 1/2 cup of the heavy cream and beat until incorporated and silky.
- Pour in the remaining cream with the vanilla extract and lemon juice, then whip until stiff peaks form.
Churning or Freezing the Ice Cream
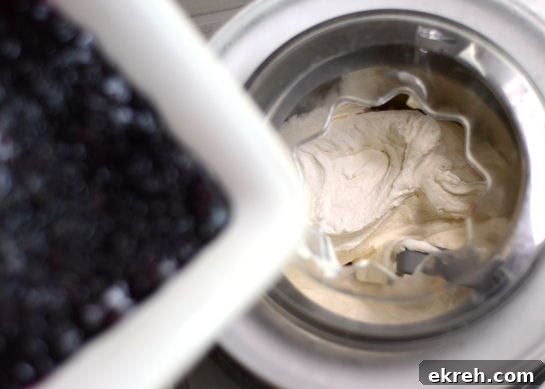
If you have an ice cream maker, churn the combined mixture according to the manufacturer’s directions. Add the cooled blueberry sauce in the last few minutes of churning so the berries distribute in ribbons rather than fully blending in. Transfer to a freezer-safe container and freeze until firm.
If you don’t have an ice cream machine, use the no-churn method: spread half of the whipped cheesecake base in a freezer-safe container, spoon half the blueberry sauce over it, then add the remaining base and sauce in alternating layers. Use a knife to gently swirl the layers, press a layer of broken graham crackers in if you like, cover, and freeze for at least 6 hours or until firm.
How to Swirl Blueberries in Ice Cream
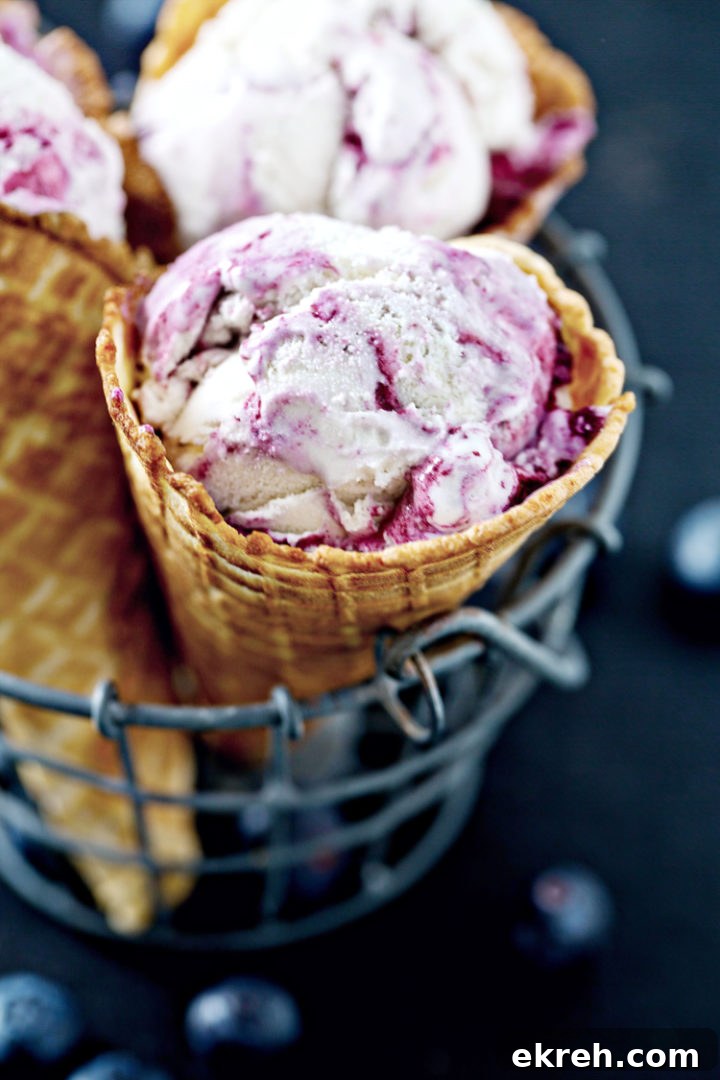
For distinct ribbons of blueberry sauce, layer the components rather than mixing them together: 1/4 of the cheesecake base, 1/4 of the blueberry sauce, and a sprinkle of graham cracker pieces if using. Repeat layers until the container is full. Finish by dragging a knife through the top layer for a pretty swirl.
Serving Suggestions
This ice cream is delicious simply scooped into a bowl or a waffle cone. Here are a few ways to dress it up:
- Spooned into a waffle cone or a chilled bowl.
- Topped with a few fresh blueberries for brightness.
- A drizzle of extra blueberry sauce for more fruity flavor.
- A sprinkle of graham cracker crumbs or sliced almonds for crunch.
- Finish with a dollop of whipped cream and sprinkles for a kid-friendly touch.
Because homemade ice cream can freeze quite hard, let it sit at room temperature for a few minutes before scooping for the best texture and flavor.
Storage
Store the ice cream in an airtight, freezer-safe container. It will keep well for up to about two months, though without preservatives it’s more susceptible to freezer burn, so aim to enjoy it sooner.
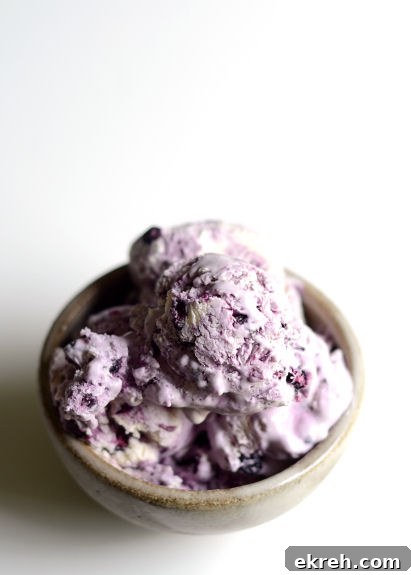
Photo Credit: Erica
Variations
You can easily adapt this recipe by swapping the blueberries for another berry or adding extra citrus:
- Raspberries – make a raspberry sauce for a bright, slightly tart version.
- Blackberries – swap in blackberries for a deep, jammy flavor.
- Strawberries – use strawberries for a classic strawberry cheesecake ice cream.
- Extra lemon – add lemon zest to the base or the berry sauce for a fresher finish.
More Homemade Ice Cream Ideas
Other recipes that pair well with this technique include no-churn pumpkin spice ice cream, pistachio dairy-free ice cream, toasted coconut chocolate chunk ice cream, brownie chunk ice cream with vanilla bourbon caramel, and easy lemon ice cream. Try using the same no-churn base and swapping in different sauces, mix-ins, or extracts to create new flavors.
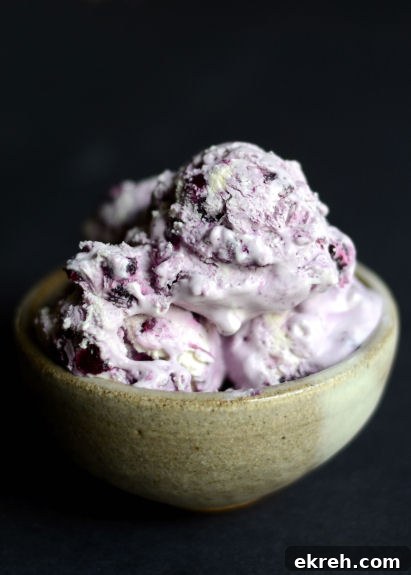
Photo Credit: Erica
Did You Try This Decadent Ice Cream?
If you make this Blueberry Cheesecake Ice Cream, I’d love to hear how it turned out. Leave a comment with your thoughts, any tweaks you made, or your favorite topping—rating the recipe helps others discover it too.